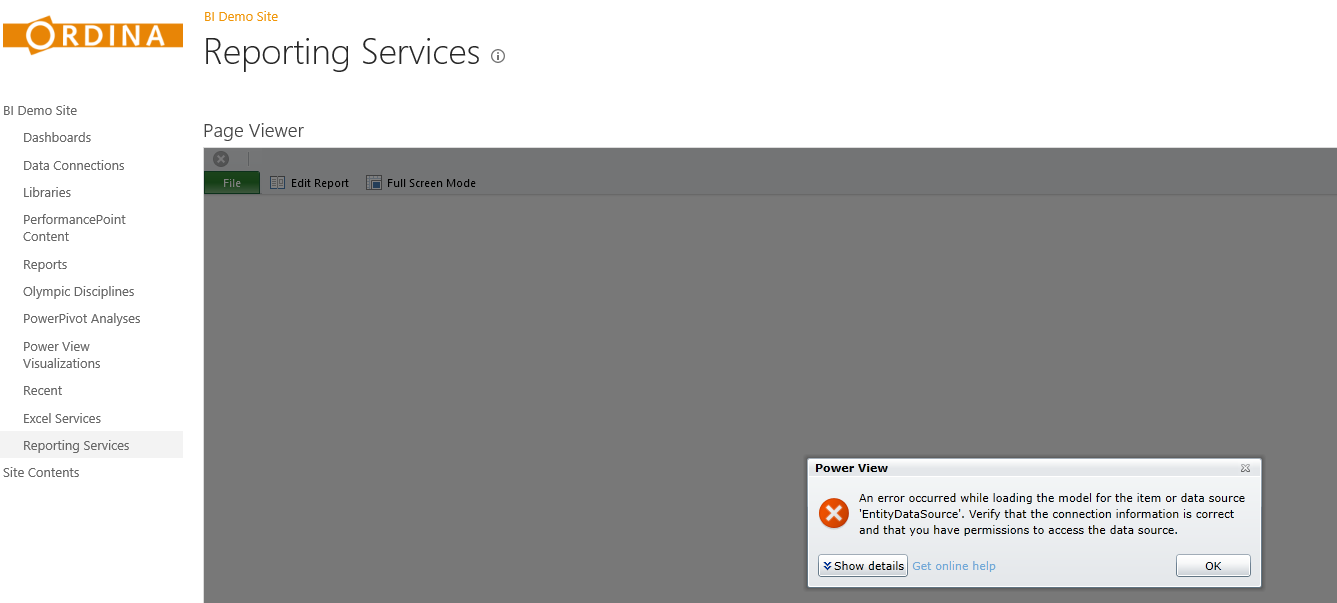
I'm currently setting up a demo environment using SQL Server 2012 and SharePoint 2013 (more on that in later blog posts). This gives me the chance to play around with Power View for SharePoint and I absolutely love it. I ran into an issue however because the Windows Authentication wasn't working properly. When I view a Power View report I get the following error:
An error occurred while loading the model for the item or data source 'EntityDataSource'. Verify that the connection information is correct and that you have permissions to access the data source.
Not exactly what you want to encounter when giving a sales demo. So I had two options: either deal with Windows Token Claims / Kerberos or set up an unattended account to run the report. Since I’d rather jab myself in the eye with a rusty nail then dealing with Kerberos, I chose the last option. Setting up an unattended account is my preferred method for authentication, as it gives the least amount of troubles. I do it for Reporting Services reports and PowerPivot workbooks, so I’d also like to do it for Power View as well.
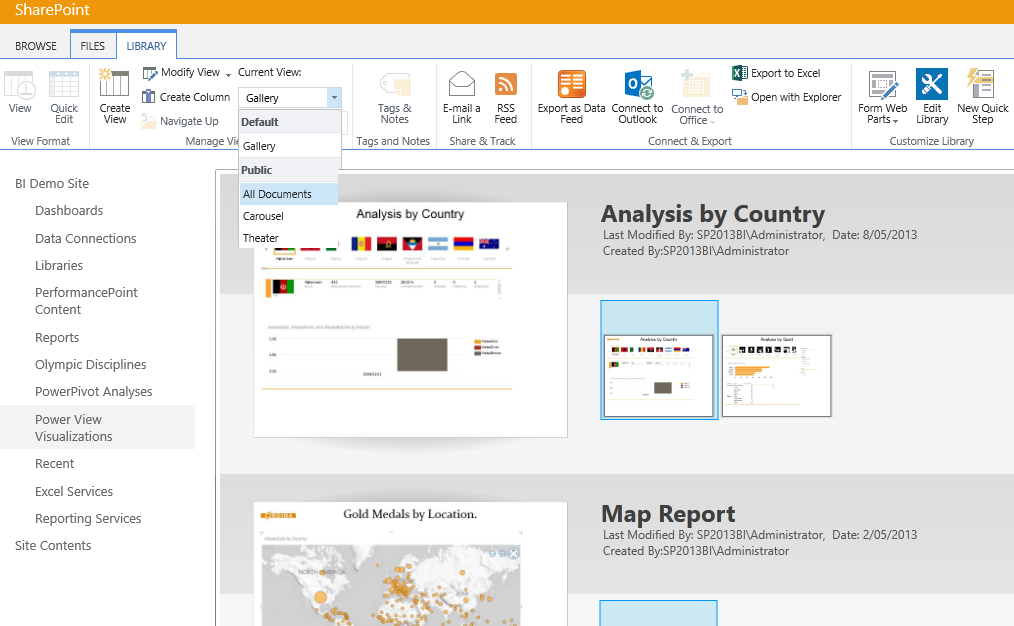
So how do you modify a Power View data source? Luckily it's pretty straight forward if you know where to look. Go to the library where your Power View report is stored.
In the Library ribbon, set the Current View to All Documents. Click on the down arrow of the report you wish to edit and select Manage Data Sources.
Click on EntityDataSource.
Here we can finally modify the data source. You can choose a shared data source, modify the connection string (a PowerPivot workbook in my case) and set the credentials, which we are interested in. Fill in a user name and password under Stored Credentials to specify an unattended execution account. Don’t forget to check the Use as Windows credentials checkbox.
Note: my demo environment has only one user: the Administrator. This is OK because it is – in fact – a demo environment. Please do not specify administrator credentials in a production environment (especially if you pay attention to the nice red warning on top). Use a dedicated domain account.
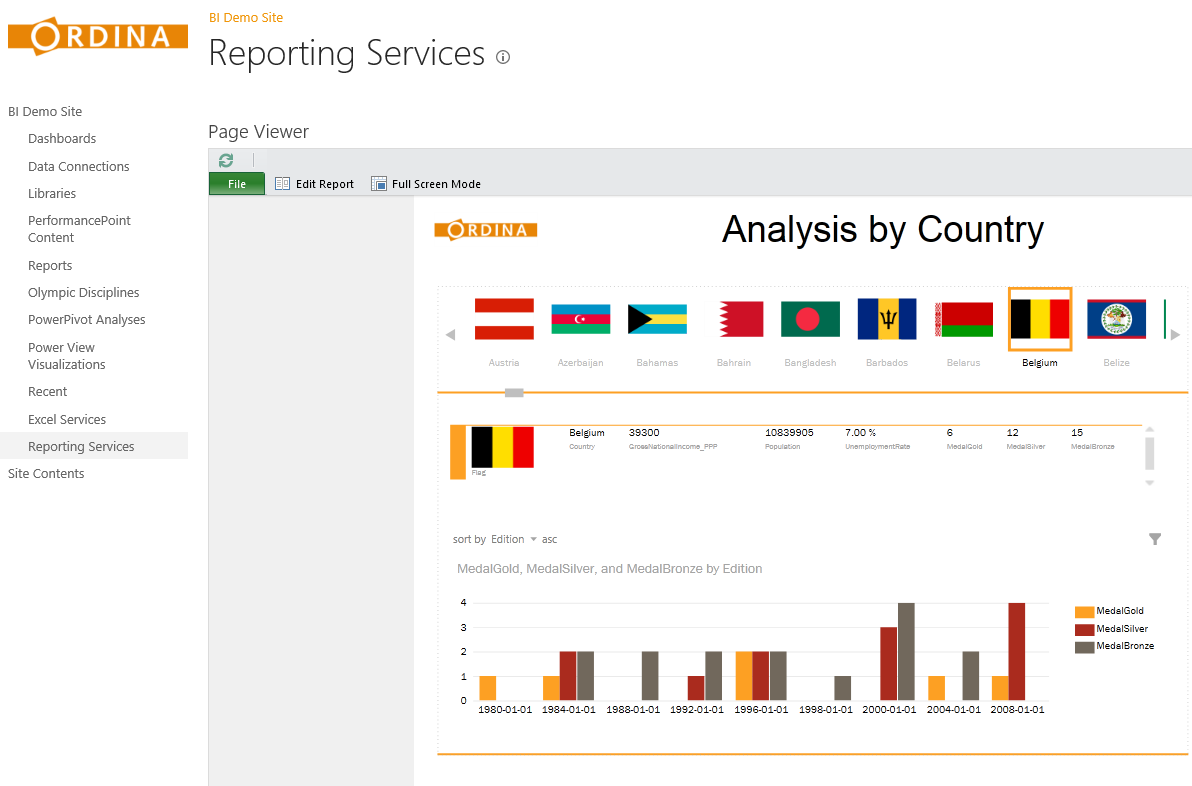
Click OK and go back to your SharePoint page. The report now renders successfully! It is as easy as that.


