Let's get started with the next step in the series: installing SharePoint. We will install only the software, but we do not configure it. We will do this later with the PowerPivot Configuration Tool, which is explained in another blog post.
The first step is to create a farm account. This is the most important account in your SharePoint environment. I made this account administrator on the virtual machine and also sysadmin in the SQL Server instance. Normally the SharePoint set-up will add the farm account to SQL Server and give it appropriate permissions, but since this is a simple demo environment I just played it safe. We will use this account when we configure SharePoint in a later blog post.
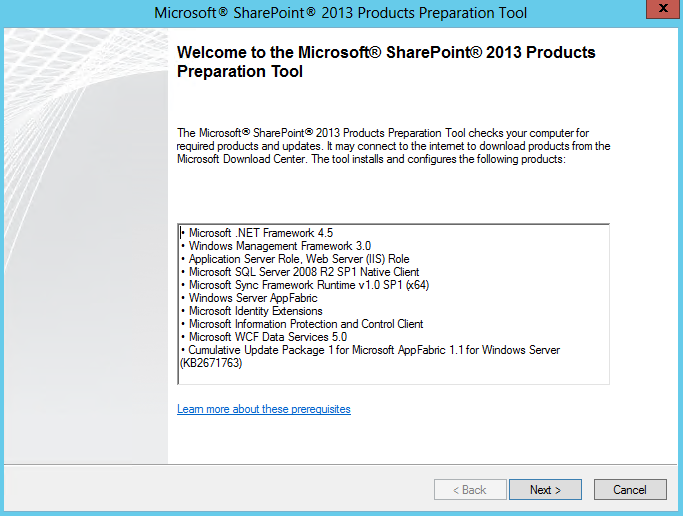
The next step is to attach the SharePoint image to the DVD drive of the VM and to start the prerequisite installer. This installer will install some software on the machine needed for SharePoint. It’s possible you have to run it more than once, as you may have to reboot a couple of times.
The screenshot below displays all the applications that will be installed or enabled. Some will probably be already there, so those will be skipped. Click Next.
Accept the license terms and click Next.
Wait until everything is installed… (grab a coffee, you know the drill)
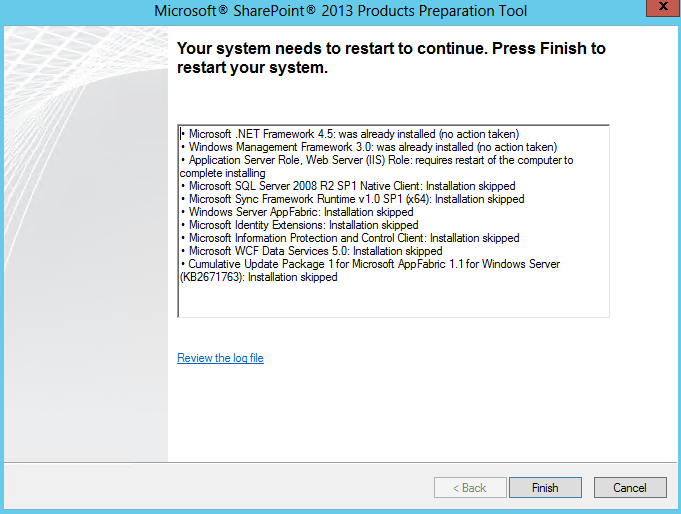
If necessary, restart your system.
Make sure you have an Internet connection, as the installer might download some software.
After a while, the setup will be completed.
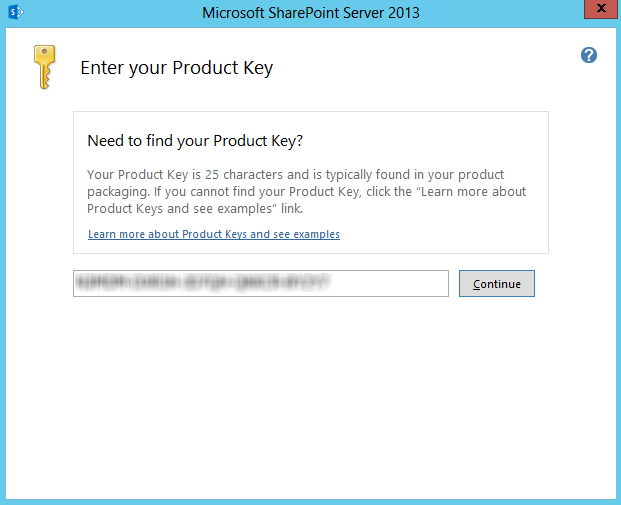
Now launch the SharePoint 2013 setup and enter your product key. Click Continue.
Accept the license terms and click Continue.
Select the Complete server type installation. You might be tempted to choose the stand-alone type, as it is intended for demo environments, but this will install SQL Server express, which we do not want. Also, if for some reason you want to add servers to your demo environment, you need the complete server type.
If you have multiple disks, you can choose to install SharePoint on another disk, instead of on the C: drive. Click Install Now.
Go grab a coffee and wait while SharePoint is being installed.
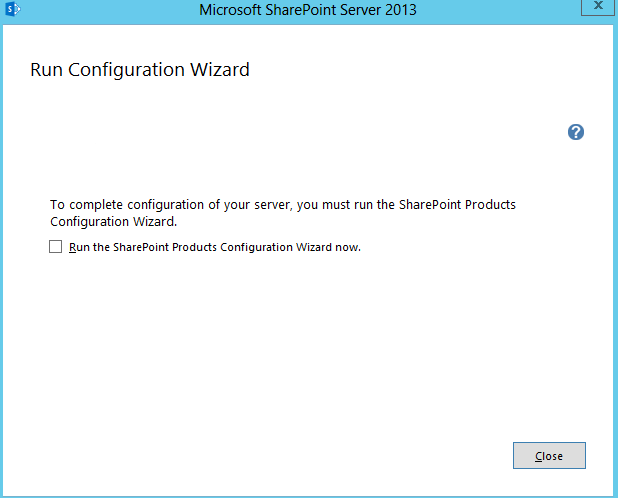
Once the installation is finished, you’ll get the option to also configure it with the SharePoint configuration wizard. Since we are going to use the PowerPivot Configuration Wizard, deselect the checkbox and click Close.
That’s it, SharePoint is now installed on the virtual machine, but it is not configured yet, so it is still useless. (some might argue it’s also useless after it has been configured, but let’s not get into that)
Go back to overview.
Previous part: Installing SQL Server.
Next part: Installing PowerPivot for SharePoint.


