In this blog post we'll go over the installation of the SQL Server instance. This database engine will serve multiple purposes: it will host the SharePoint databases, the Reporting Services databases, the SSIS catalog and of course databases containing demo data.
First of all we are going to enable the .NET 3.5 framework, which is a prerequisite for SQL Server. You can find a description on how to enable this feature in this earlier blog post of mine: Error while enabling Windows Feature: Netfx3. Normally SQL Server can enable this feature itself, but if it cannot find the necessary sources or if there isn't an Internet connection, you can bump into the error described in the blog post.
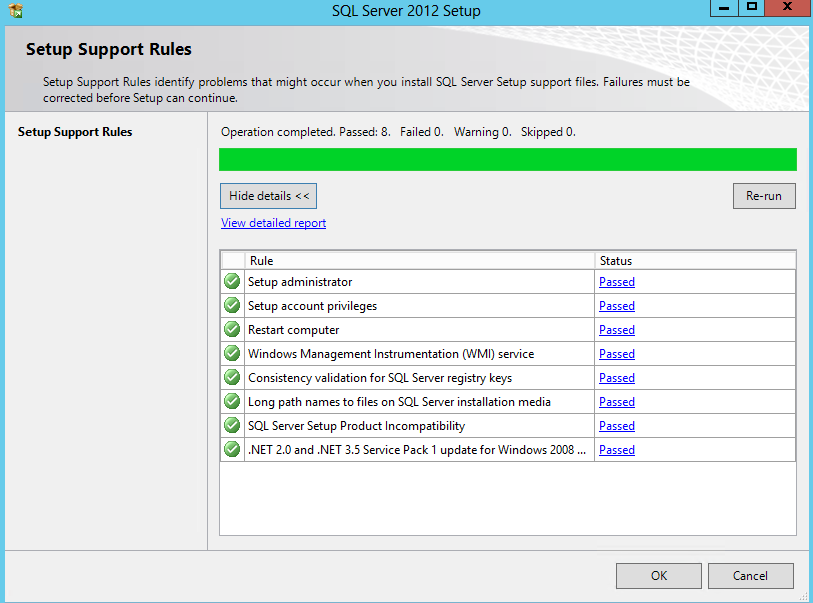
Next we'll hook the SQL Server image into the DVD drive of the virtual machine and start the SQL Server setup. The setup support rules will run, which should pass easily, unless you have for example a pending restart from Windows Update. Click OK.
You are asked to fill in a license key. If you are using Developer Edition, like me, it is already filled in. Click Next.
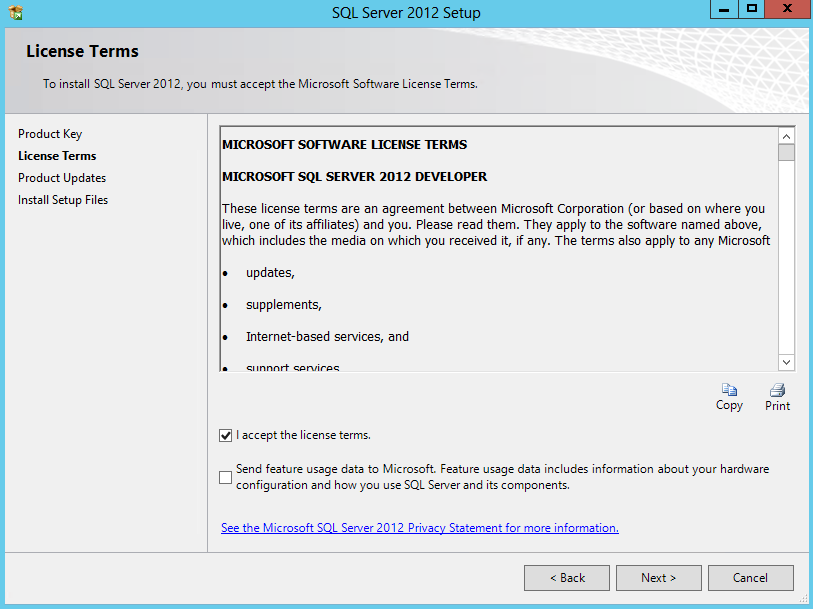
Accept the license terms (after you’ve read them all of course. But grab some coffee to keep you awake) and click Next.
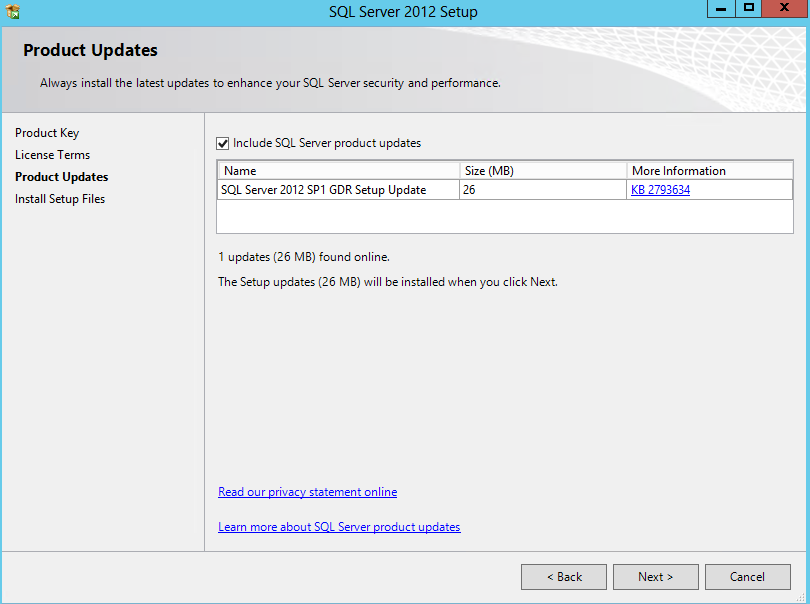
The setup will search for product updates. Most likely you’ll get an update for Setup itself. If you have no Internet connection, you can skip this step. Click Next.
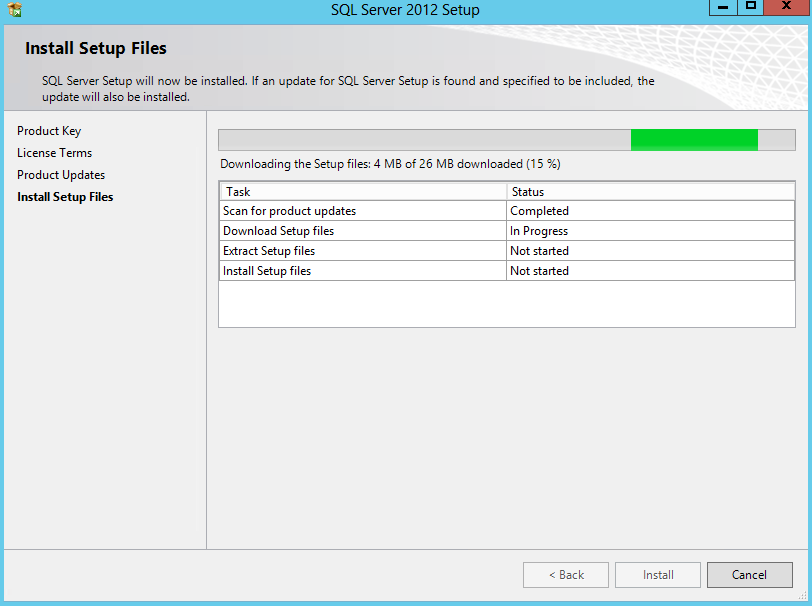
Setup will now download any updates and install the setup files.
Another set of Setup Support Rules will run. You might get a warning on the Windows Firewall, but you can ignore that. I disabled the firewalls on my virtual machine, so I pass this rule. Click Next.
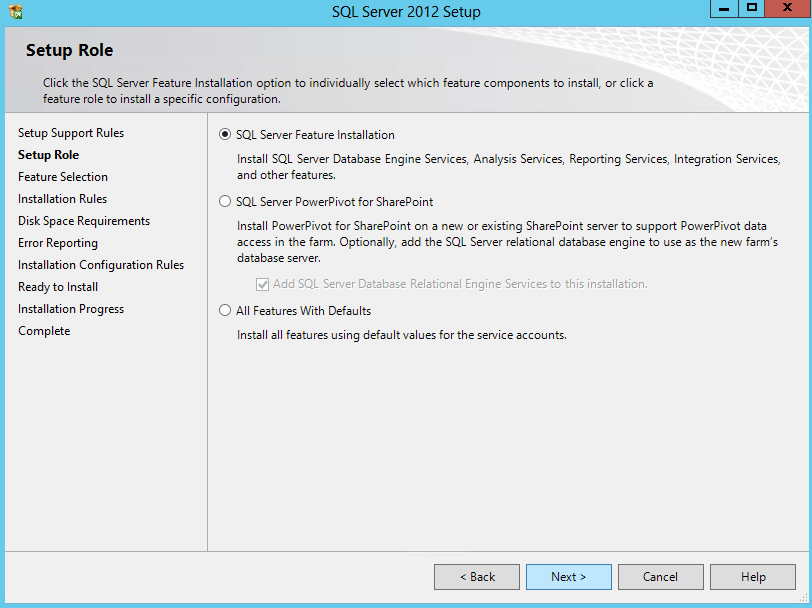
For the Setup Role, we’ll choose SQL Server Feature Installation. Click Next.
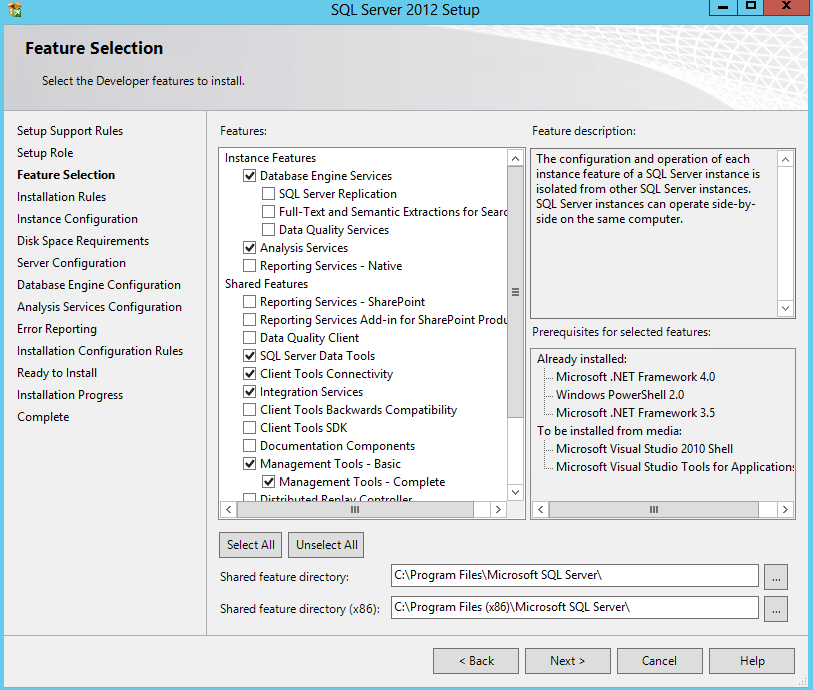
In this setup, we will install the database engine, Analysis Services, Integration Services and the client tools. Reporting Services will be installed at a later point in time. Select all the features you need and click Next. Optionally, if you have multiple disks, you can install the shared features on another disk: change the directories at the bottom.
A few checks on Installation Rules will run. Normally nothing to worry about. Click Next.
Now we need to configure the instance. I keep everything as default, but you can change the root directory of the instance to another disk if that’s an option. Click Next.
You’ll get an overview of the disk space requirements. Check if everything is OK and click Next.
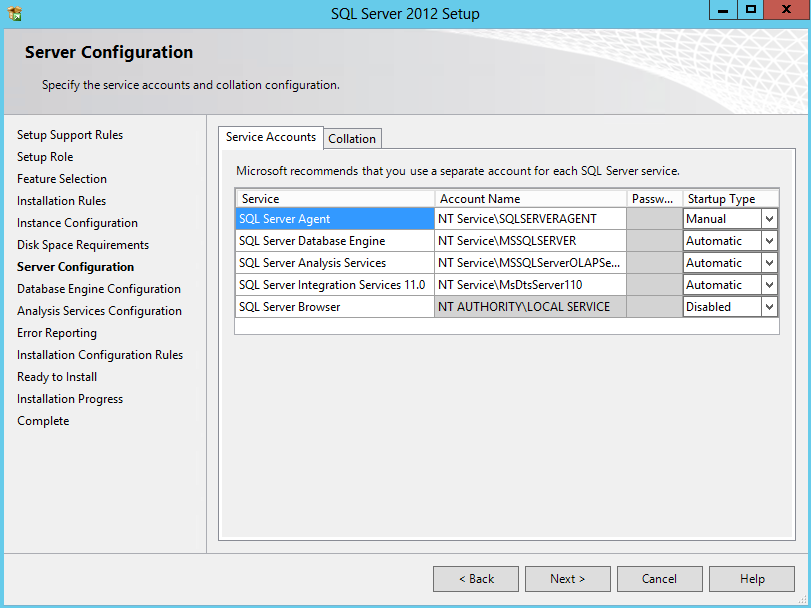
Next are the service accounts and the collations. Once again, I leave everything as default. If you are setting up a server in an actual environment (as opposed to a stand-alone demo environment) I would suggest you specify domain accounts for the service accounts. Since I’m installing a default instance, I leave the SQL Server browser disabled. Click Next.
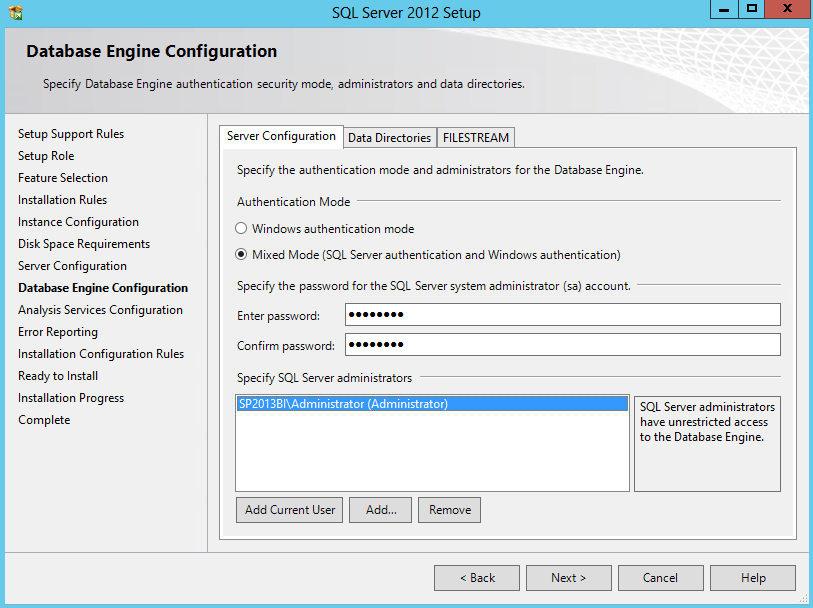
The following step is configuring the database engine. I specify mixed authentication so I can define an SA account. This is some sort of back-up plan if I somehow manage to lock myself out of SQL Server. All communication should go through Windows Authentication and I will barely use SQL Server authentication. Specify a password for the SA account and most important of all, add yourself as administrator. I won’t enable filestream and I leave the data directories as default. Remark: in any other environment, I would relocate the data directories to other disks. But since this is a stand-alone demo environment (this is getting kind of tedious), I just don’t bother and install everything on the same disk. Certainly do not do this in a production environment!
Next up is configuring Analysis Services. We’ll choose for the Tabular mode and add ourselves as an administrator. Once again, I leave the data directories as-is. Click Next.
In the next screen you can choose to send error reporting to Microsoft. I left the checkbox unchecked. Click Next.
A set of Installation Configuration rules will run. If every rule has passed, click Next.
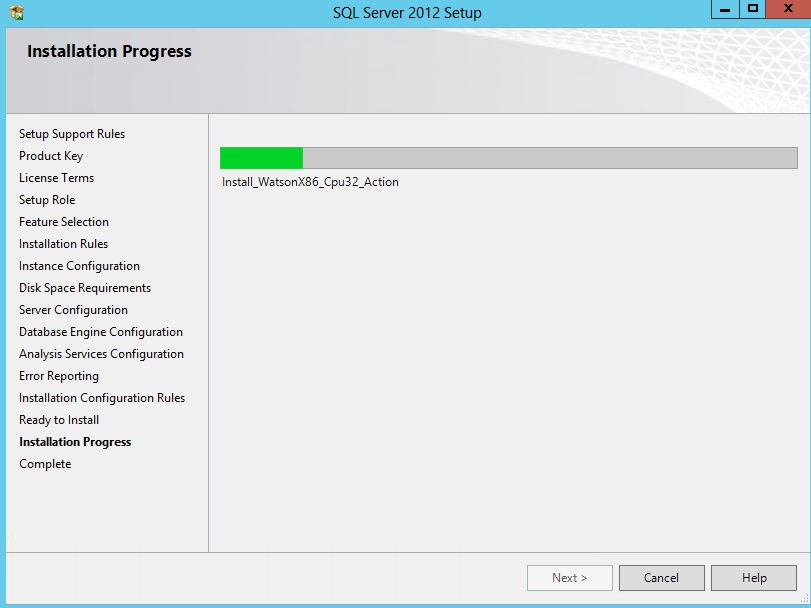
Go through the installation overview, make sure everything is OK and click on Install!
Go grab another coffee.
After some time you’ll get the notification that everything has been successfully installed. Click Close to end the setup.
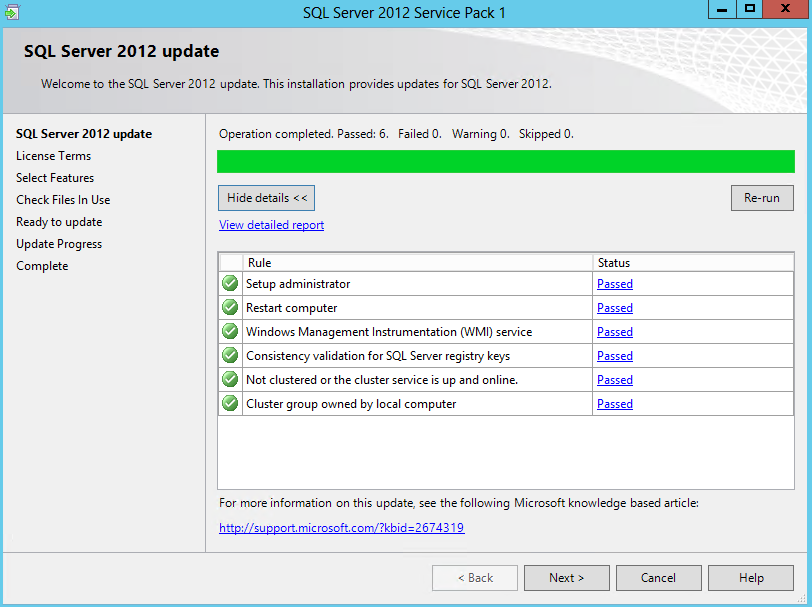
Since SharePoint 2013 has SQL Server 2012 SP1 as a prerequisite, we’ll install sp1 as well. You can download it here. Launch the setup, which will promptly verify some setup rules. Click Next.
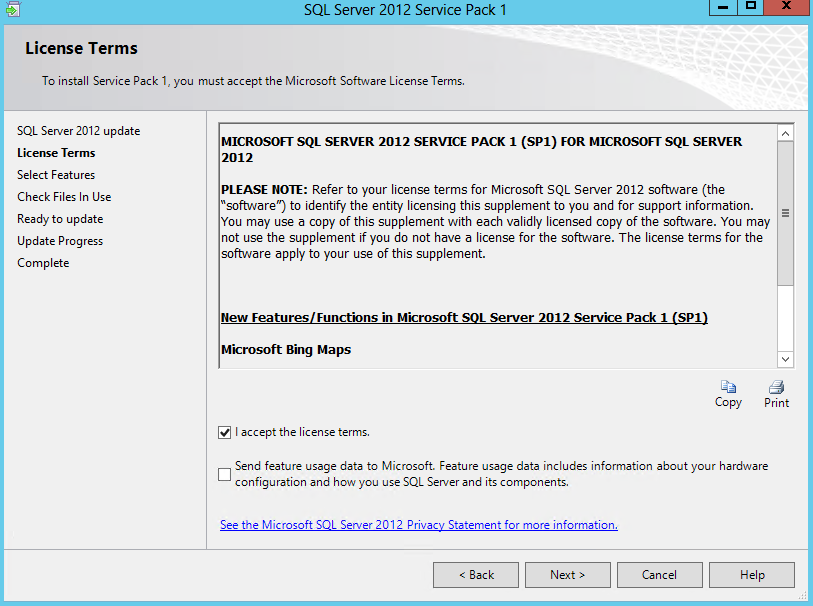
Once again, accept the license terms. If you’re planning on reading them all – again – go grab some more coffee. Click Next.
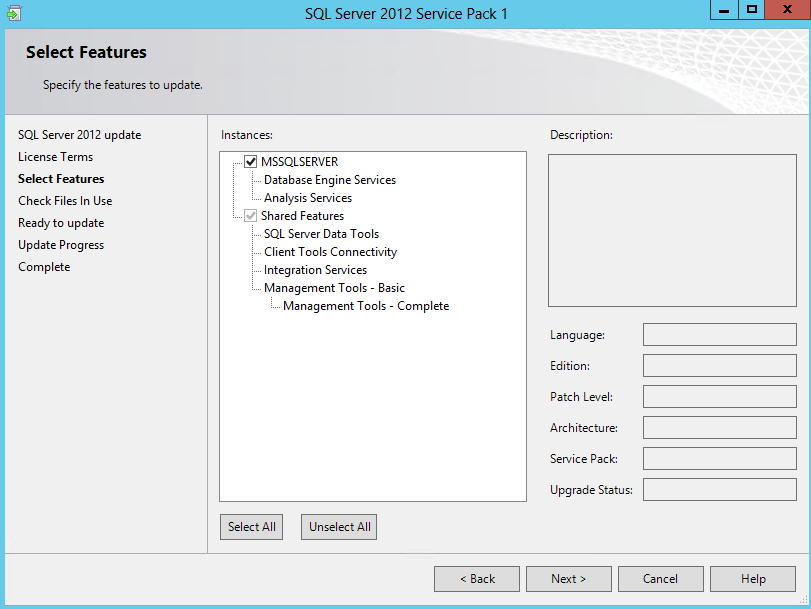
Select the features which you want to update. That’s everything we have installed so far. Click Next.
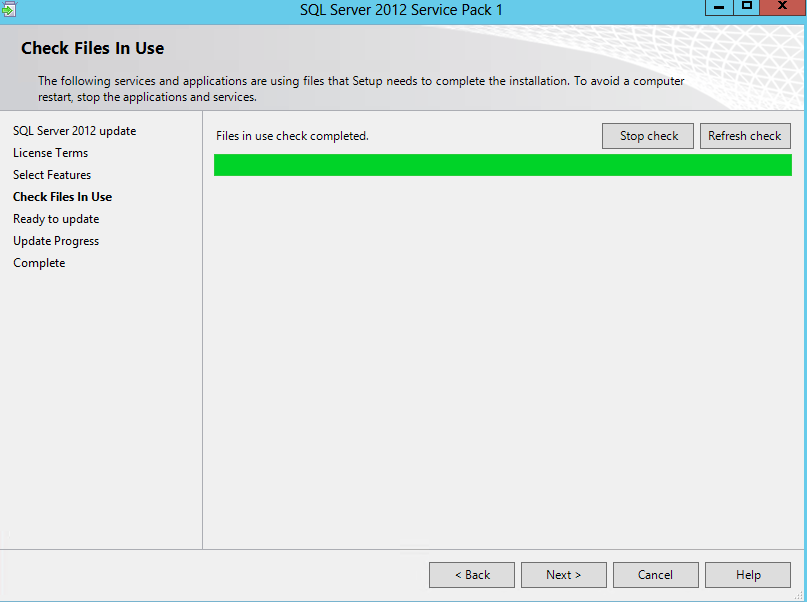
A check on files in use will run. If something is in use, shut down the application and rerun the check. Click Next.
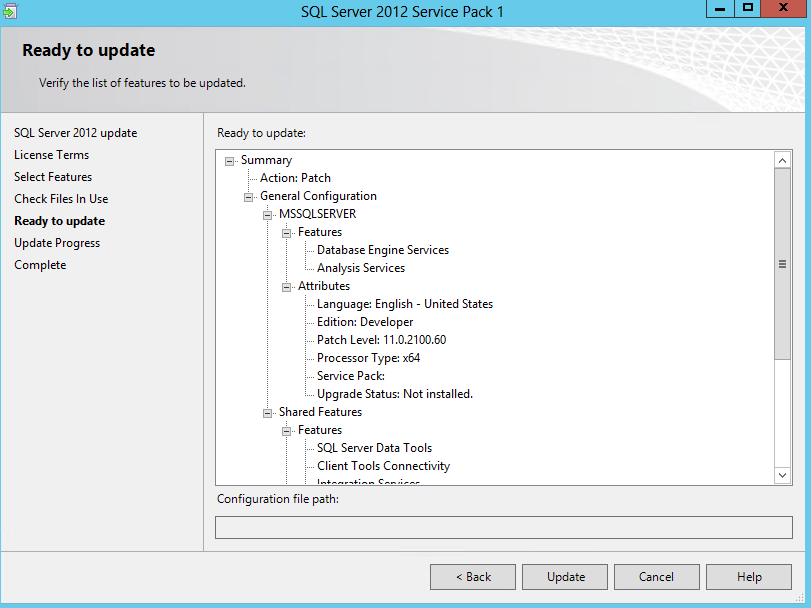
Review the overview and click Update.
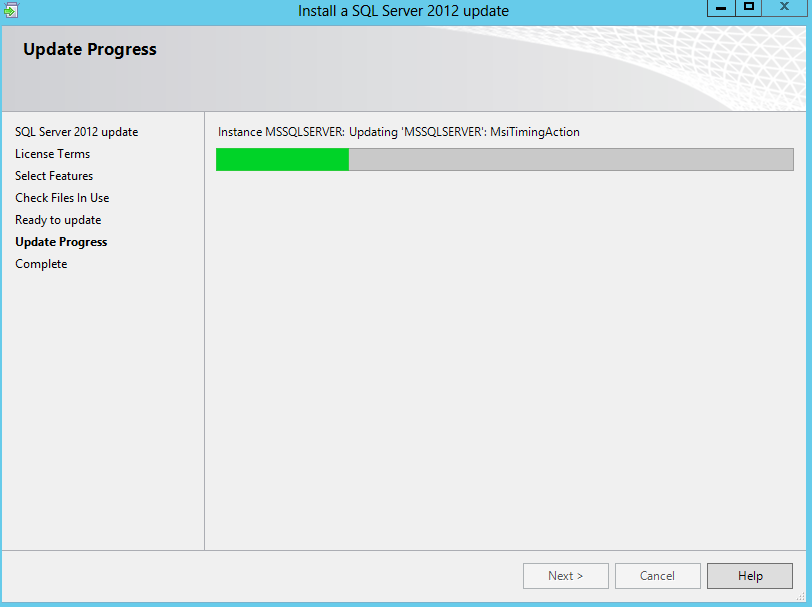
Go to the toilet, because you’ve been drinking too much coffee…
Once the update process is complete, hit Close to finish the setup.
After installing service pack 1, there might be an issue with multiple instances of Windows Installer popping up and consuming resources. This is caused by some faulty DLLs. Read all about it here.
We’ll run KB2793634 to get rid of the issue. Launch the setup to get it going. Verify if all the setup rules have passed and click on Next.
At this point, I guess you won’t read the license terms. Your loss, there’s some real beauty at the end. Click Next.
Select all the features you want to update and click Next.
The files in use check will run again. This time, you might get a hit on msiexec.exe. This is the Windows Installer process. You know, the one that is running rogue, which is what we’re trying to avoid with this very same update? A bit tricky, isn’t it. Go to task manager and kill the msiexec.exe process (make sure you don’t kill the update wizard) and quickly rerun the check. Click Next.
Glance through the overview and hit Update.
Wait a bit…
… until there’s the notification that everything updated successfully.
That’s it for SQL Server. You now have already a demo environment where you can show off Integration Services 2012 – which had some awesome improvements over previous editions – and SSAS Tabular. Which is also awesome of course.
Go back to overview.
Previous part: Installing the OS.
Next part: Installing SharePoint.


