


This is part 2 of a 5-part series.
- Part 1 – Planning
- Part 2 – The Distributor
- Part 3 – The Publisher
- Part 4 – The Subscriber
- Part 5 – Testing
Scenario
Publishers: servers SQL2014AG1 and SQL2014AG2, database AGTest
Distributor: stand-alone server, SQL2014demo
Subscriber: Azure SQL Database – server jessqldb2, database ReplicationTest
Setting up the replication distributor
The first step in this process is to set up the remote distributor. As I mentioned in the first blog, you do not want your distribution database on one of the AG replicas. You need to set this up on a server that is not part of the AG.
Start by logging on to the distributor server – in this demo, SQL2014demo.
Right-click Replication and select Configure Distribution.
Click Next on Welcome
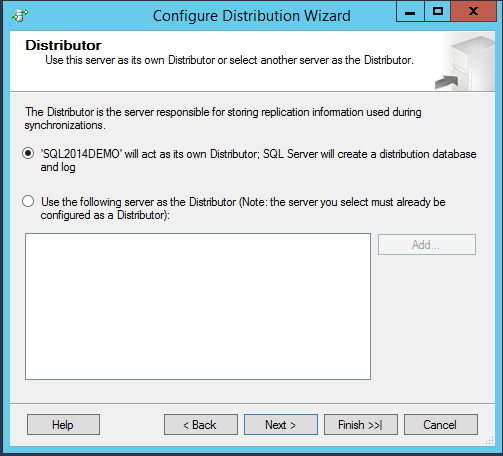
Distributor – select ‘Server’ will act as its own Distributor. Click Next.
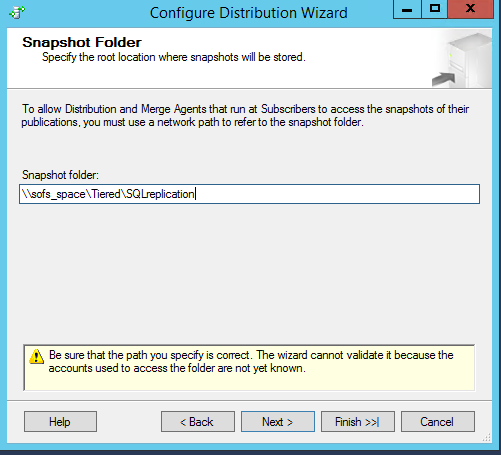
Snapshot folder – enter a network path that all the service accounts that run SQL Server engine and Agent on all the servers in this configuration have full rights to. Click Next.
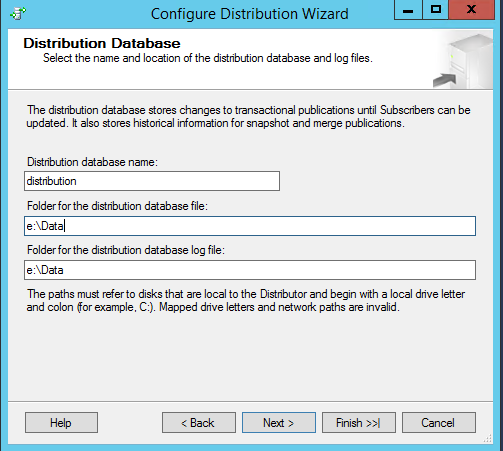
Distribution Database – enter database name and file location. Click Next.
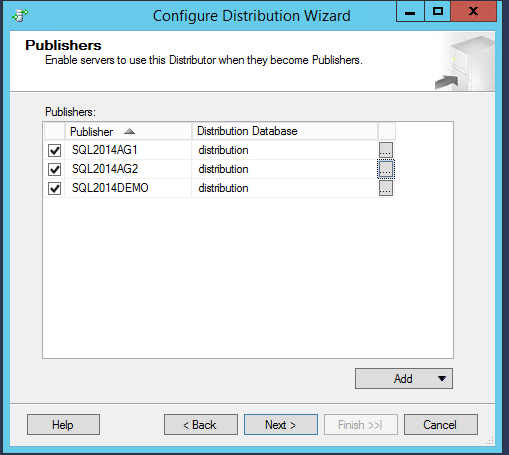
Publishers – use the Add button to connect to each of the servers that will be a publisher. If this is an AG configuration, it must be every replica in the AG. Click Next.
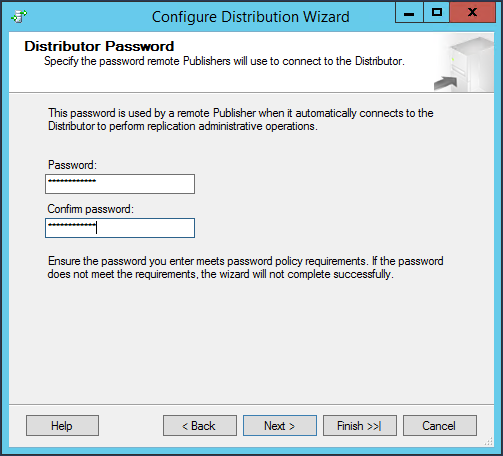
Distributor password – enter a secure administrative password. Save it in a password vault! Click Next.
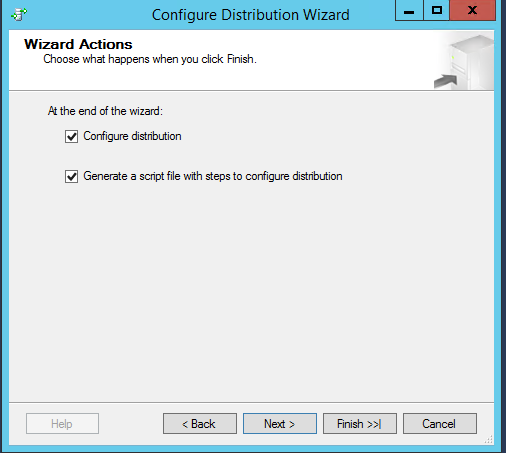
Wizard Actions – check both boxes. Click Next.
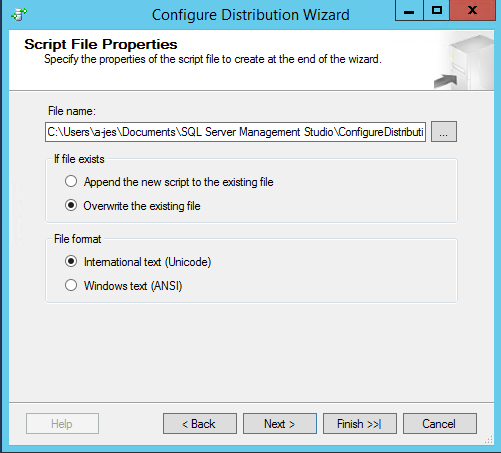
Script file properties – choose a location to save the script. Review other options. Click Next.
Complete the wizard – click Finish. All options should have green checkmarks.
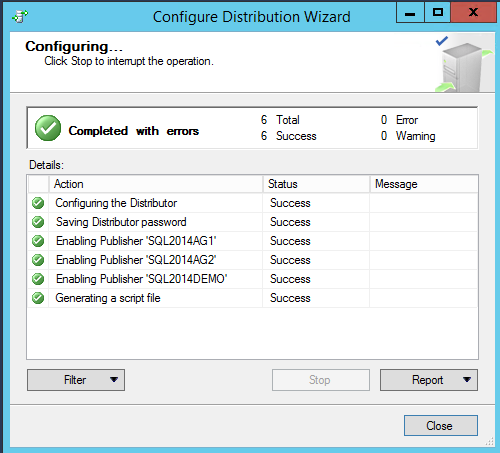
Your remote distributor is now configured. You’ll need the server name, database name, and admin password as you set up publishers and subscribers. Next, you’ll configure your publishers.
 Jes Borland is a Premier Field Engineer - SQL Server for Microsoft, where she is a trusted technical adviser, deep technical support, and teacher for her customers. Her experience as a DBA, consultant, and 5-time Data Platform MVP allow her to help the business and the IT teams reach their goals. She has worked with SQL Server as a developer, report writer, DBA, and consultant. Her favorite topics are administration, automation, and performance. She frequently presents at user groups, SQL Saturdays, and other community events. She is also an avid runner and chef.
