


Accidental Systems Administrator

Virtual Lab entry on the LTD Wiki
Terminology
There are some terms that are commonly used in relation to AD or a Domain Controller that will appear in this and other documents:
- Domain Controller
- The server or servers responsible for handling authentication and informational requests for users/systems on the domain
- Forest
- Domains are represented as trees of directory information, a forest is the group of all trees in the organization
- Kerberos
- Kerberos is an authentication protocol used to allow systems on an un-trusted network a method to prove their identity to one another
- FQDN
- Fully Qualified Domain Name – the fully spelled out domain name for a domain, for example mydomain.com
More details can around duplicate SIDs, 2008 R2, and similar topics are available in this article from Mark Russinovich.
Setting up VM
First we need to create a virtual machine to house the future domain controller (DC). In the first article we walked through the process of creating a basic VM. We will follow those same steps to create the VM for our DC except once we have Windows installed we will customize it further than we did with the original VM.
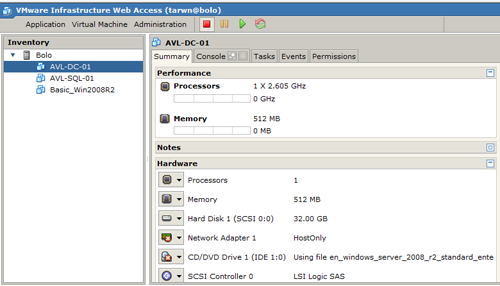
Creating the Virtual Machine
For the time being this system is going to be connected to the Host via the existing Bridged connection. At a later point in time we will look at creating virtual networks in VMWare and build out a more defined network.
Configuring the OS
Once the virtual machine is created, configured in VMWare, and Windows has been installed, it’s time to move on to the Windows configuration. Some of these will be the same as our prior article and several will be new additions to prep the server for Active Directory.
First we will want to configure the server name and then assign it a new static IP Address on the local network.
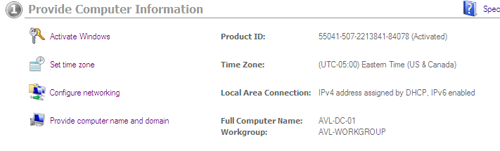
Changing the System Name
After changing the name we’ll open the network settings by either selecting the “Configure Networking” link on the Initial Configuration dashboard (above) or clicking the network icon in the tool tray at the bottom right, followed by “Open Network and Sharing”, and then “Change adapter settings” near the top right of the screen. With the “Network Connections” screen open we can right click the network adapter and enter the “Properties” pane. Select the “Internet Protocol Version 4” item from the list and press properties to access the IP configuration panel.
At this point we need to select a static IP address that isn’t already in use on our network and isn’t in the DHCP range for our network. After selecting an IP Address we enter the static IP address, enter the gateway server or switches address, and then enter the servers address as the primary DNS entry and our switch or external DNS as the secondary one.
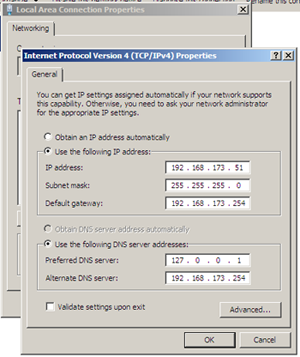
Configuring the IP Address
The last step to preparing your server for Active Directory is planning. In a non-lab installation we would want to put some forethought into how many clients we intend to support with Directory Services, whether there will be secondary DCs on the network, etc. I have an older link for capacity planning for AD on Windows 2003, but unfortunately I have not been able to find a comparable article for 2008 yet.
Installing Active Directory
In Windows 2008, Active Directory has expanded to take on a wider range of roles and capabilities. The portion we formerly considered to be AD, directory management and communications, is now called Active Directory Domain Services (AD DS). Other services include Active Directory Certificate Services (AD CS), Active Directory Federation Services (AD FS), Active Directory Lightweight Directory Services (AD LDS), and Active Directory Rights Management Services (AD RMS). Today we will be concentrating on AD DS, though I will continue to refer to as AD throughout the rest of the post due to bad habits and years of practice.
Assigning Server Roles
To start the installation and setup process, we will refer back to the Initial Configuration dashboard (click the pinned shortcut on the taskbar if you closed it already). Under section 3 there is a “Roles” category that will allow us to easily assign the necessary roles to our server.
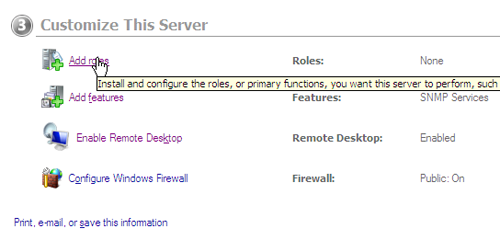
Assigning Server Roles
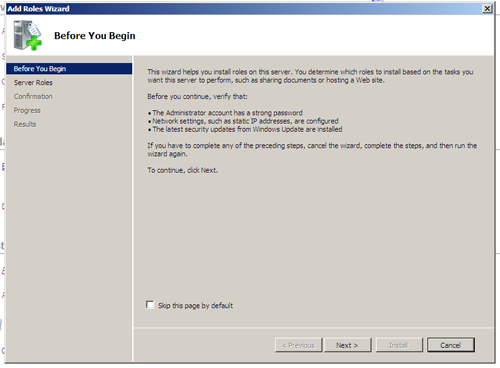
Installing the Active Directory Role
The first page of the “Add Roles Wizard” presents us with some friendly reminders to set a static IP Address (check), ensure the Administrator account has a strong password (check), and make sure the server is up to date on Windows Updates (check).
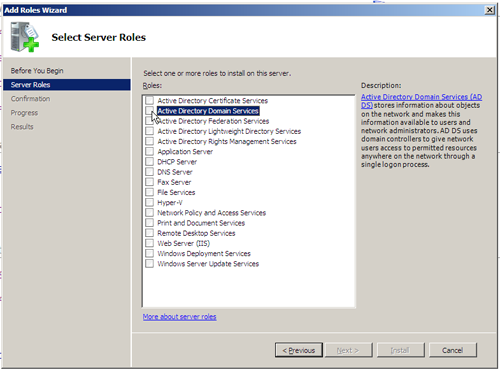
Assigning Server Roles
Next we move on to the Roles selection page. As promised, we see a number of active directory services listed, the option for today being AD DS.
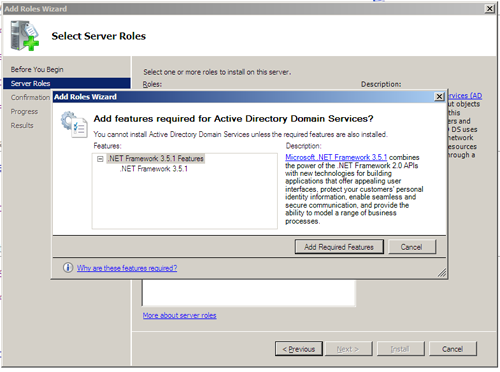
Installing AD DS
On selecting the AD DS option the wizard runs a quick validation and notices that our server does not appear to have a necessary component, in this case .Net Framework 3.5.
Installing AD DS – Prerequisites
After choosing to install the prerequisite (a difficult and time consuming decision, or perhaps not) and pressing next on the main screen, we are provided with a list of “Things to Note” as well as links to additional information, saving me the time of writing and linking them up myself.
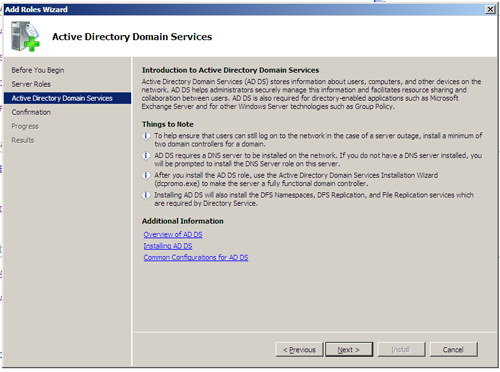
Installing AD DS – Things to Note
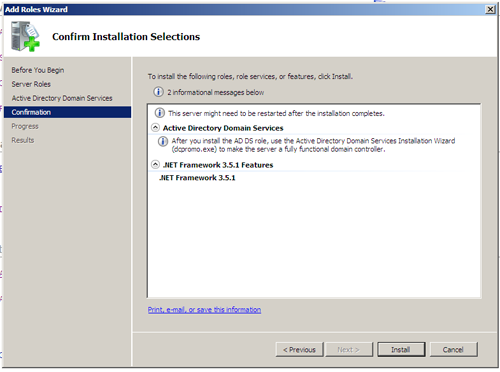
A short confirmation displays the items we are installing, including the noted prerequisite above and a reminder that directory services won’t truly be functional until we run “dcpromo”.
Installing AD DS – Confirmation
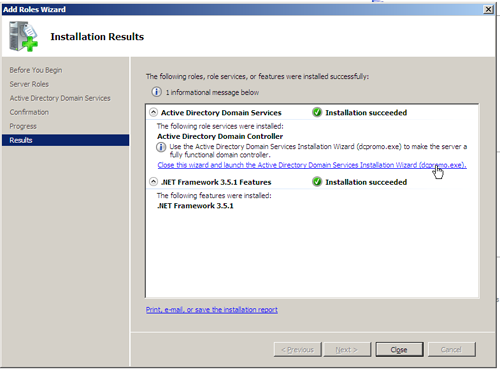
After the installation and verification is complete, we are presented a handy link to launch dcpromo.
Installing AD DS – Wizard Complete
AD DS Installation Wizard (DCPromo)
The dcpromo wizard will complete the installation of AD DS on the server.
On the first step we are presented with the option to “Use Advanced Mode Setup”. This option will cause several additional wizard windows to appear throughout the process that would have defaulted behind the scenes if it were not checked. Press the “advanced mode installation” hyperlink to get a help document about the additional options presented in advanced mode.
DCPromo – Beginning
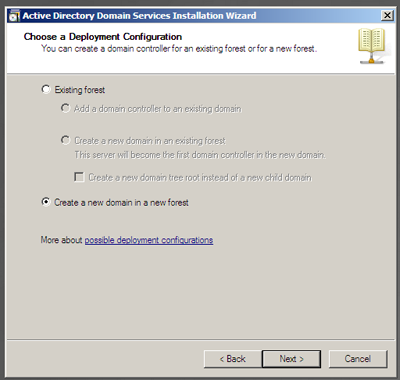
After an informational screen about the suggested cryptography option and systems that may not support it, we are presented with the option to add a domain to an existing forest or to create a new domain under a new forest. This being our first DC in the virtual lab, we will be creating a new forest for our domain.
DCPromo – New Forest and Domain
Next type the fully qualified domain name (FQDN) for your domain. After typing this name the wizard will then scan to ensure the name is not already in use.
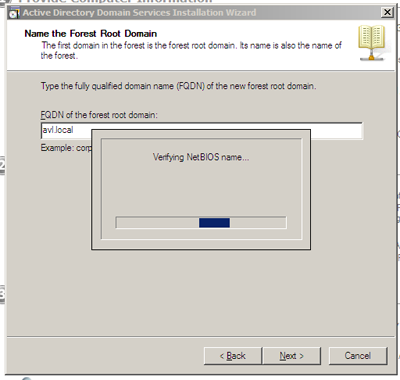
DCPromo – FQDN Entry
The wizard then prompts us to enter a Domain NetBIOS name, with a suggestion based on the name from the prior step.
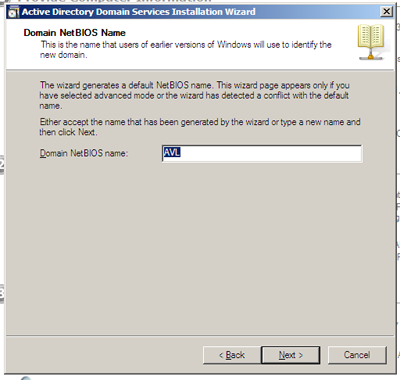
DCPromo – NetBIOS Name
Next we’ll set the functional level of our forest. The functional level defines the maximum level (and feature set) that our forest will support. When installing additional DCs in an existing forest or creating a business domain that you intend to support over the next ten years, this needs to be a well thought out decision. When installing in a virtual lab we will of course pick the highest possible level in less time than it took to write this paragraph.
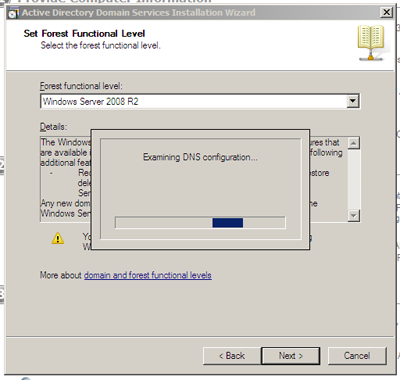
DCPromo – Functional Level
After another quick scan of the network will tell us if DNS is available and supports the necessary capabilities for the domain controller. In this case, since we are installing a primary DC, I’m going to suggest we install DNS on the same server.
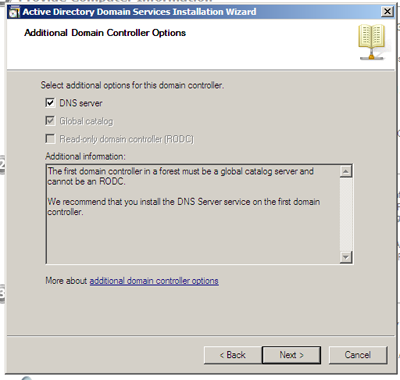
DCPromo – DNS
After selecting to install the DNS server we receive a warning that a delegation for the DNS server cannot be created because the authoritative parent zone for the domain name I entered earlier could not be found. Translated, this means that the server went looking for an authoritative DNS entry for the avl.local domain name I entered and determined that no one had ever heard of it. Since we are just now installing the DNS server that will recognize that name, this is to be expected and can be safely ignored.
The next step is to provide a location for the database and files that will be used by AD DS. In a non-lab setup this needs to be carefully planned to ensure enough capacity is available ahead of time. This being a virtual lab, we will be accepting the defaults and allowing it to carve out space from the primary drive.
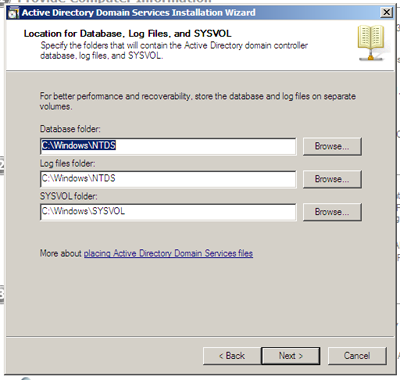
DCPromo – Database and File Locations
The Directory Services Restore password is used only when major restoration activities need to be undertaken. After entering the password we will add it to our password safe so it won’t be forgotten. This password will hopefully never be needed (especially in a lab environment), but not writing it down will pretty much ensure our first, future restoration step will be getting past the lack of a password.

DCPromo – Restore Password
After a brief summary of the selected configurations and the option to export these settings for an unattended installation, we are ready to let the server start installing.
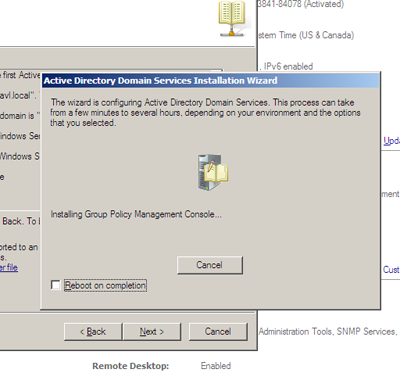
DCPromo – Installing
The installer wraps up with the common Finish screen and a request to reboot.
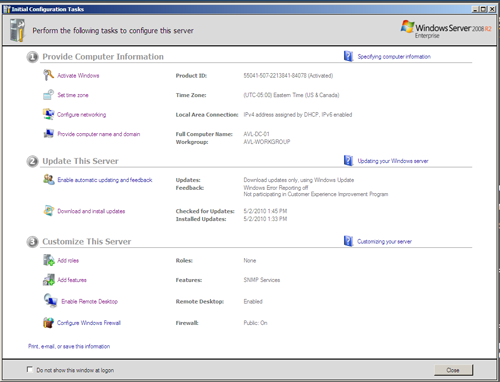
After rebooting, our “Initial Configuration Tasks” window confirms our new roles have been installed.

Initial Configuration Tasks – Roles
Managing the Domain
Our next post will cover basic administration topics for the domain, as we add our first SQL Server system to the domain, create a new administrative user, and create a service account for our SQL Server services.
 My roles have included accidental DBA, lone developer, systems architect, team lead, VP of Engineering, and general troublemaker. On the technical front I work in web development, distributed systems, test automation, and devop-sy areas like delivery pipelines and integration of all the auditable things.


