


I’ve been blogging about SQL Server for years. Most of these blogs are designed for the database administrator or developer, and thus use SQL Server Management Studio exclusively. (Back in the day, I’d show SSRS a lot, too.)
But one of the questions that’s always been at the back of my mind is, “What does this look like from an application perspective?” I’ve been asking this question even more lately, as I work with Azure SQL Database and SQL Server 2016 features like Data Masking and Row Level Security. I’m used to having high-level permissions and executing queries in SSMS; what does it look like to a user that doesn’t have those permissions or tools?
I decided to dust off the programmings skills from that AAS – Programmer/Analyst degree I earned a few years ago. I’ve used Visual Studio to create a web application, connect that to my database, and show what would appear to a user. I don’t know if I did it the easy way, or the best way, and it’s definitely not a way that I would use for any real-world application. But it helps me get a sense of what it takes to implement a feature beyond the database.
I thought it might be helpful for others to see this process. Especially since you can now get all the tools to do this – within the Microsoft ecosystem – for free!
Step 1: SQL Server 2016
Download SQL Server 2016 Developer Edition from https://www.microsoft.com/en-us/server-cloud/products/sql-server-editions/sql-server-developer.aspx. This version has all of the features of Enterprise Edition, but is free. No, you can’t use it in production. But it’s free!
After downloading, install and configure it. (Yes, even in my development environments, I configure things like max memory and cost threshold for parallelism and tempdb and trace flags.)
Now you need a database. AdventureWorks is an old standby, but there is a new test database available, WideWorldImporters! And it’s on GitHub! This is exciting. Download from https://github.com/Microsoft/sql-server-samples/releases/tag/wide-world-importers-v1.0. Restore the database into your SQL Server 2016 instance.
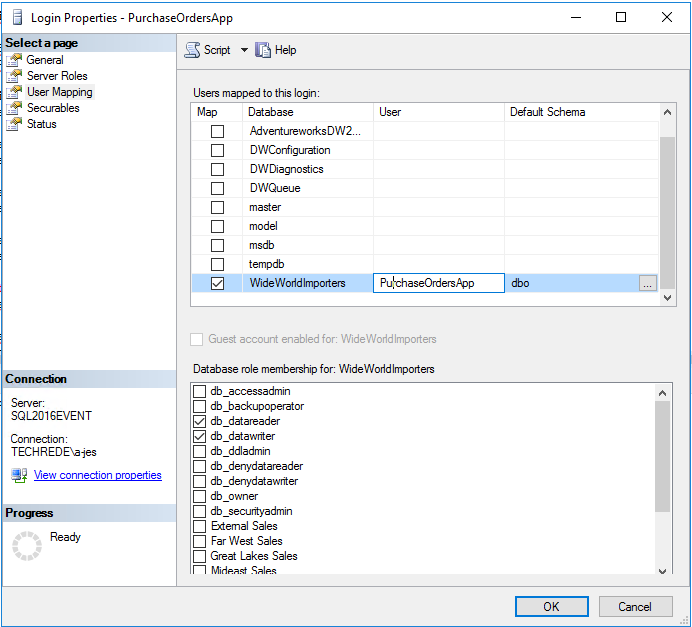
Then you need proper security for your database. Don’t run all demos as sa or as your own sysadmin-level account. That isn’t the real world, and not how users will access an application (or, it shouldn’t be). Add a Windows user if you can; I had to use SQL authentication for mine. I created a login named PurchaseOrdersApp. At the server level, permissions are public. At the database level, I granted db_datareader and db_datawriter.
-

- Username and password
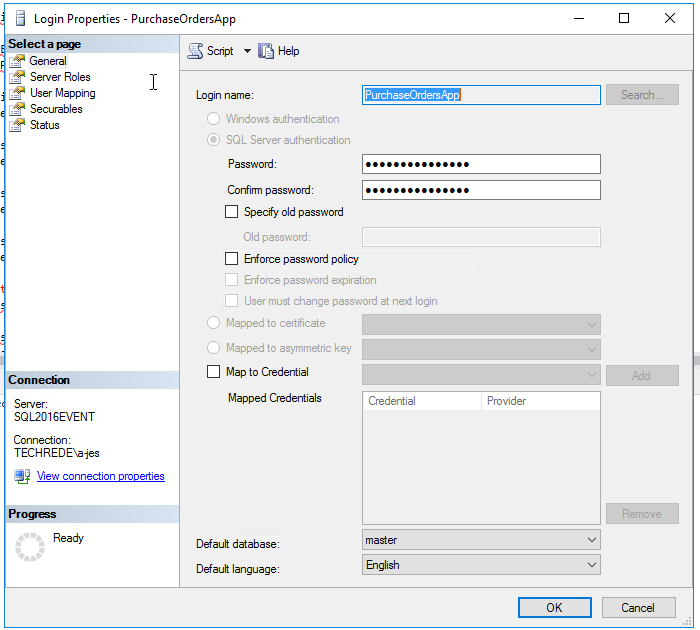
-
- Server role
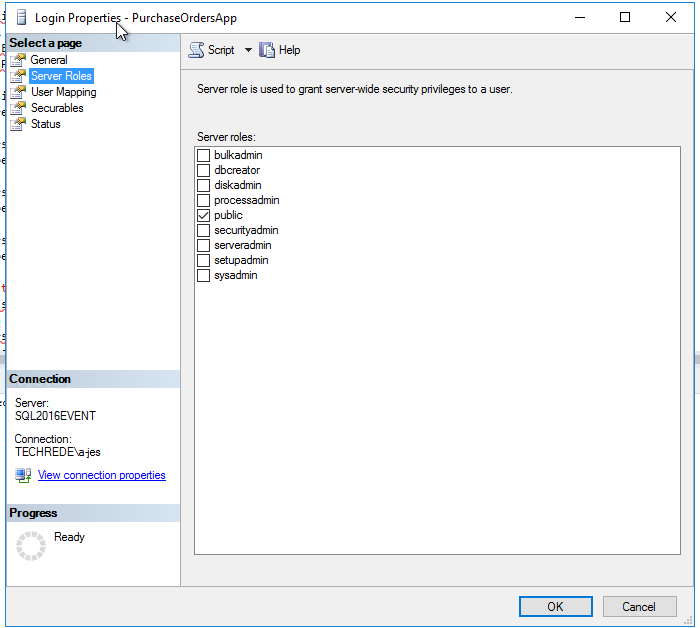
-

- Database role
Step 2: Visual Studio
Visual Studio Community 2015 is a free version that can be downloaded from https://www.visualstudio.com/en-us/products/visual-studio-community-vs.aspx. Install and open, and you’ll see the Start Page.
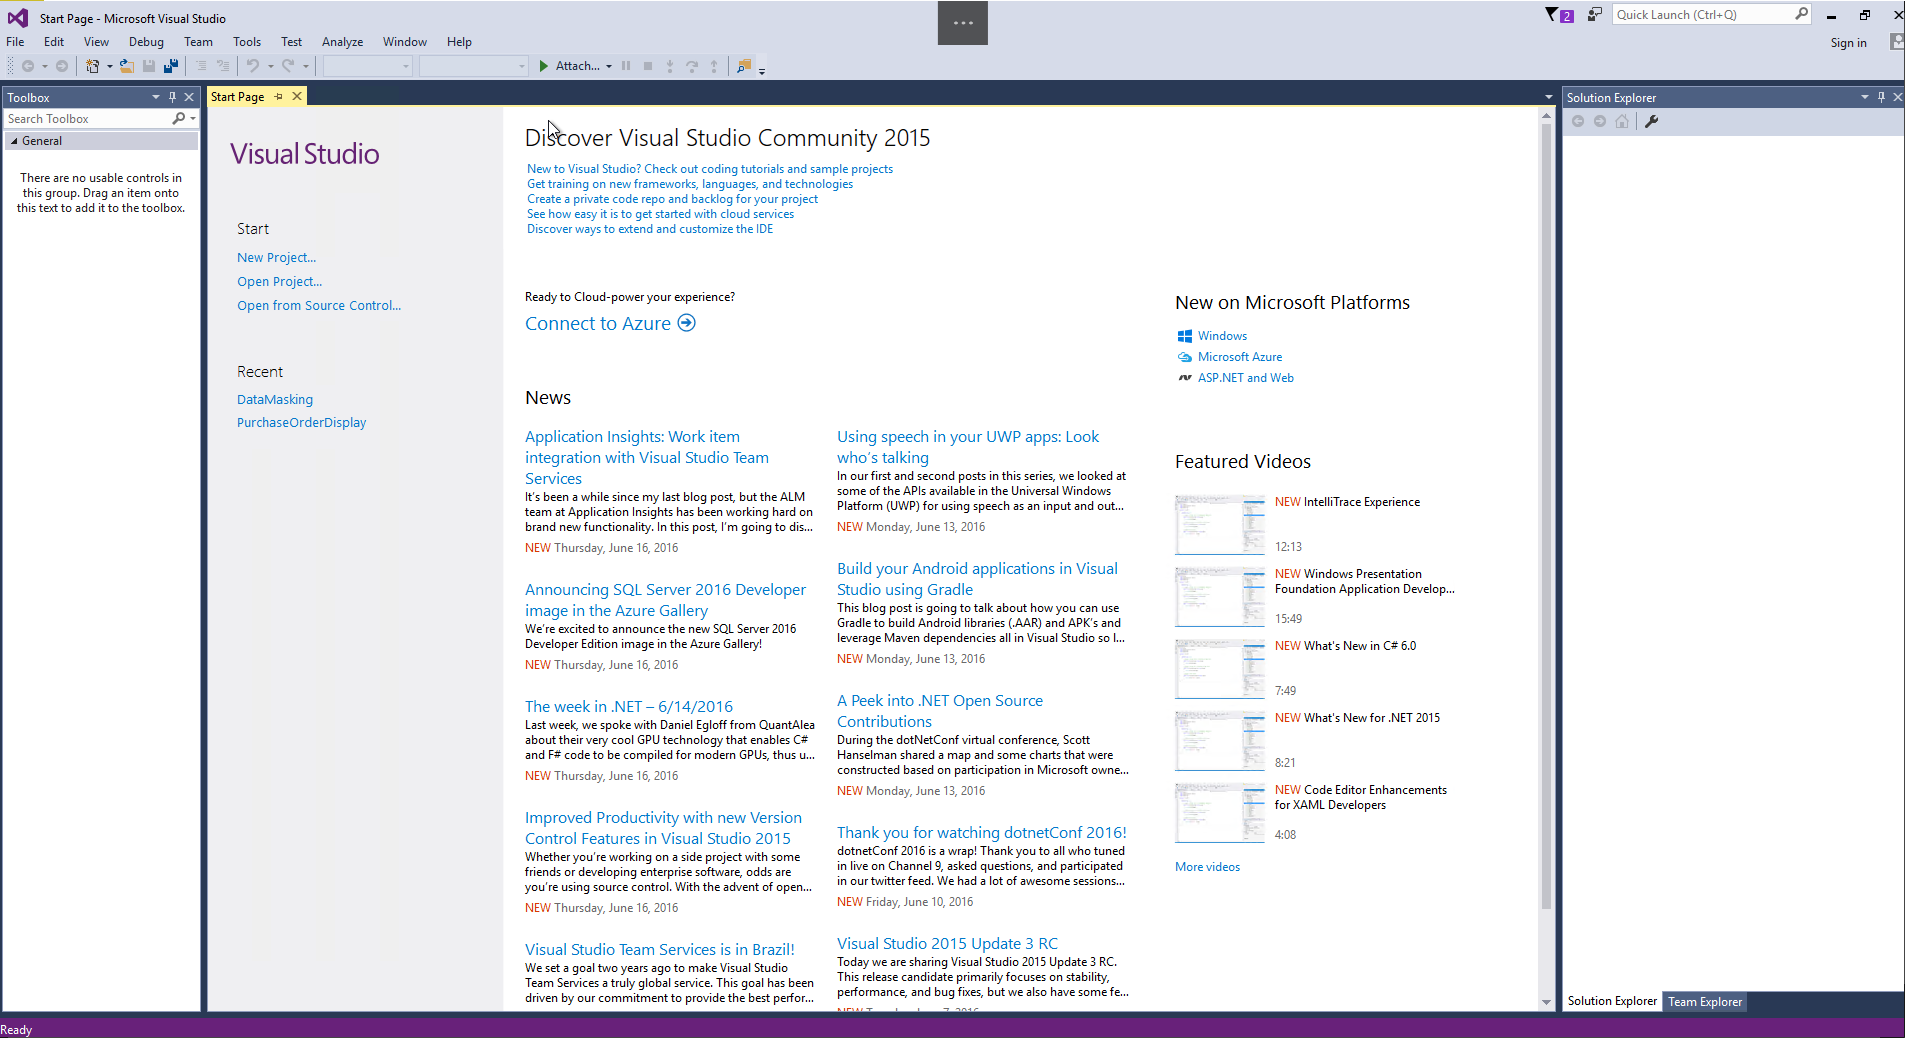
This hasn’t changed much from my days of using Visual Studio 2005⁄2008, or has it? I’m about to find out.
I click on New Project. On the left menu, I choose Templates > Visual Basic > Web. In the middle I choose ASP.NET Web Application. At the bottom I name it and click OK. The Template window should open. Choose Web Forms. If you don’t want to use Azure to host the app, uncheck the “Host in the cloud box”. Click OK. (If you left “Host in the cloud” checked, you’ll be prompted to enter information about your Azure account.)
When I’m using Visual Studio for app development, I keep the Toolbox pinned on the left side and the Solution Explorer pinned on the left.
Step 3: Making a Web App
What I want to do is create a new “web page” where a user can enter some information and results will be returned. At the top, I select Project > Add New Item. On the left menu, I choose Visual Basic > Web > Web Form. At the bottom, I enter a name and click Add. (It should open in the middle pane, but if not, find it in the Solution Explorer, right-click, and select Open.)
I see HTML in the middle pane. I want to view the designer, so at the bottom of the window I choose “Split”. My VS now looks like this.
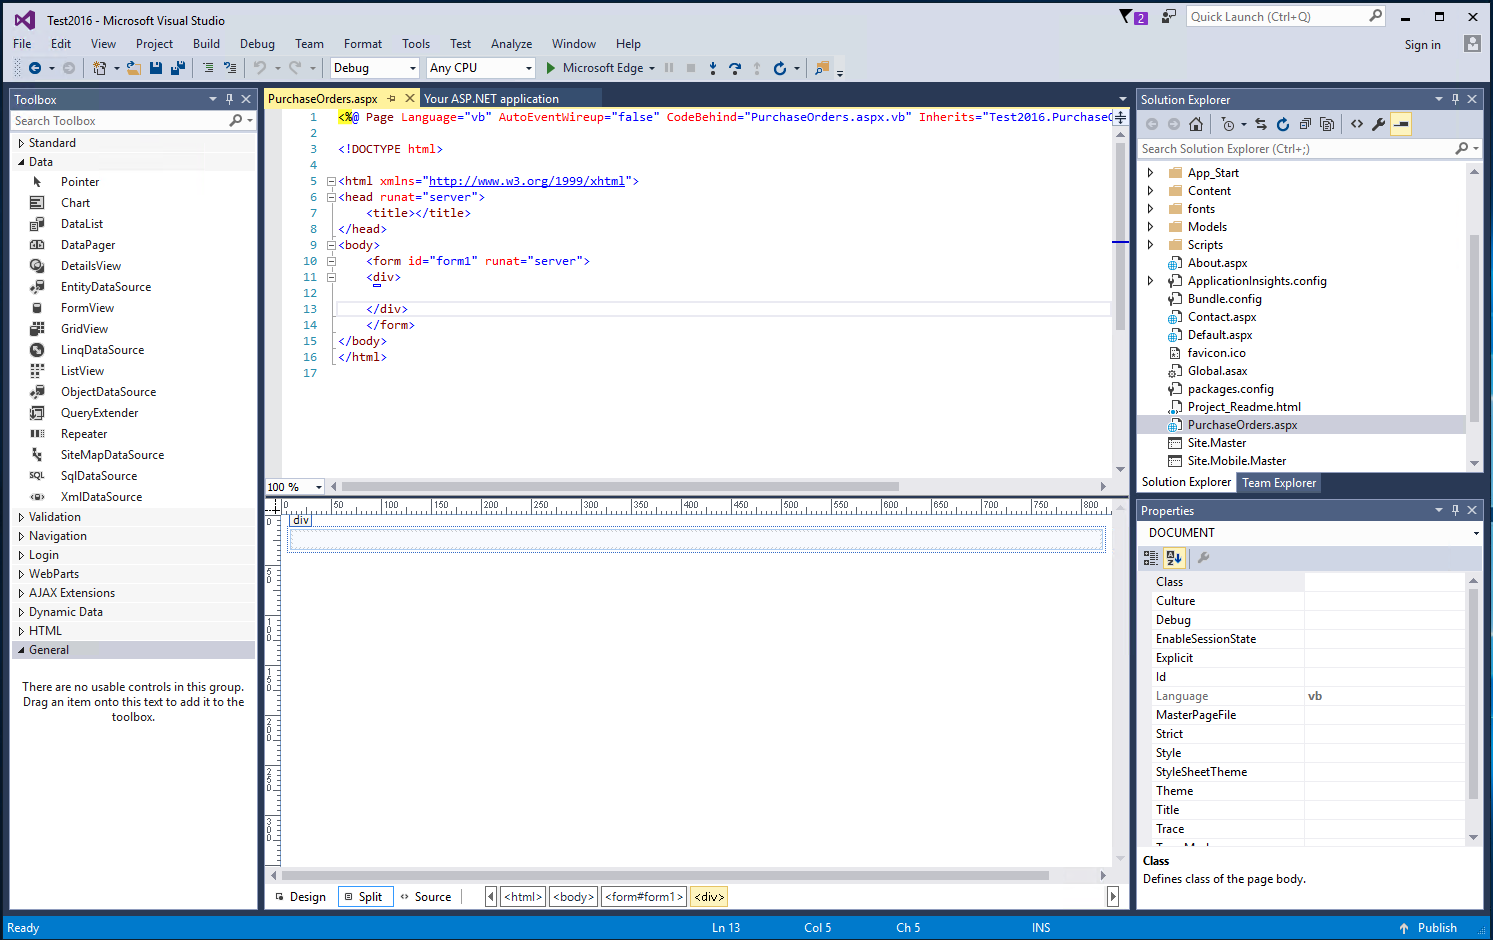
I want to use a stored procedure to show Purchase Order information. I’m going to add a GridView to the page, and connect it to a data source. In the Toolbox, I expand Data and find GridView. I click and drag it on to the bottom half, the design view.
-
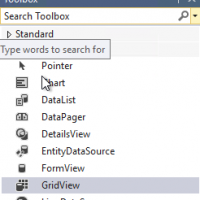
- Choose GridView from the Toolbox
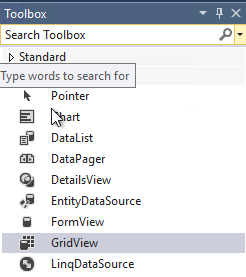
-
- How the GridView will appear on the Designer
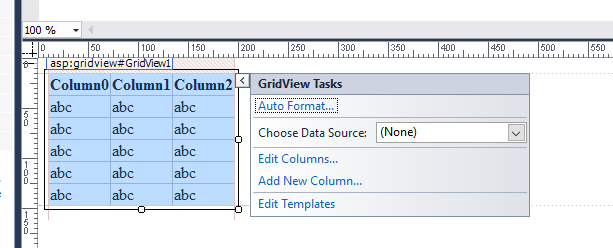
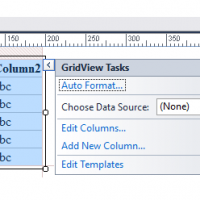
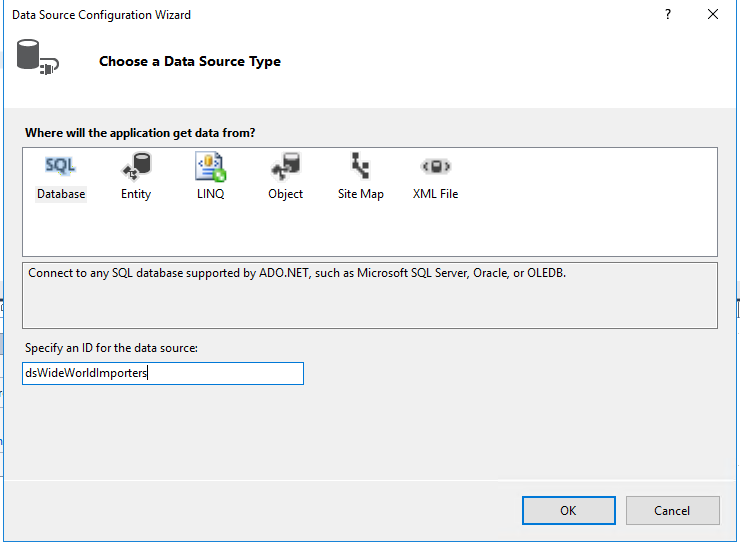
I need to connect it to my data source. Next to Choose Data Source, I click the drop-down arrow and the Data Source Configuration window appears. I choose “Database” and name the data source, then click OK.
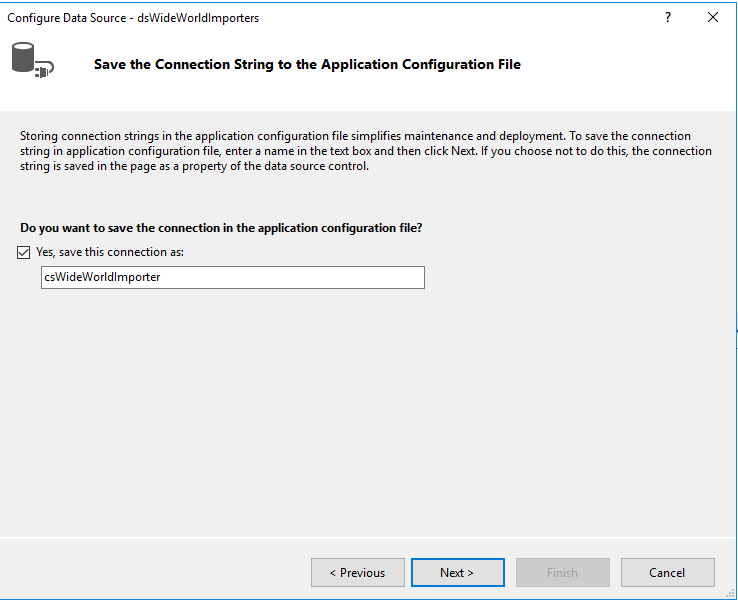
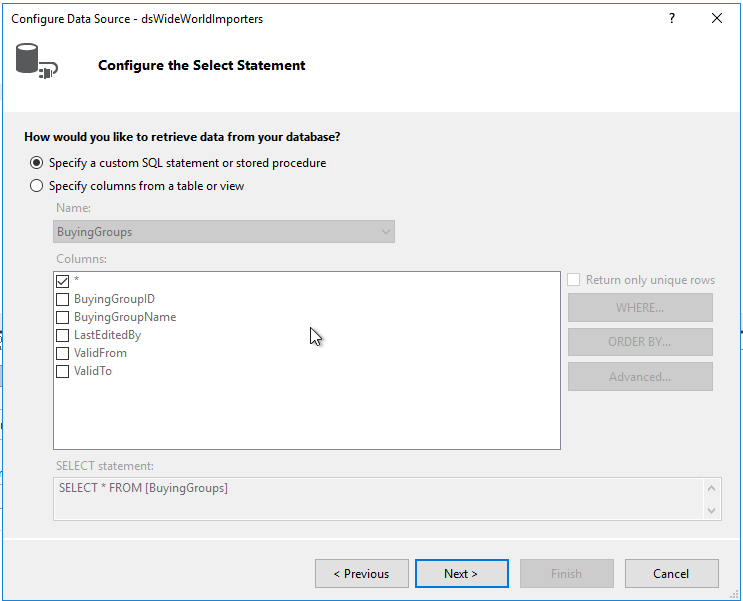
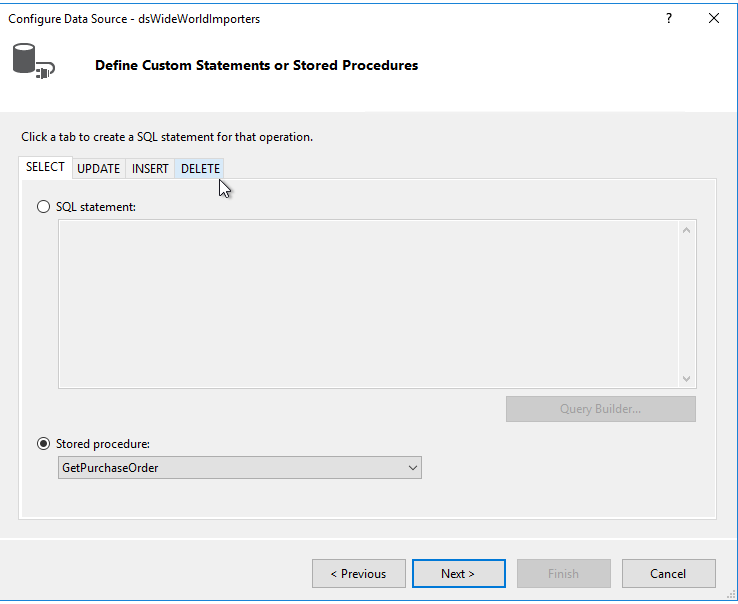
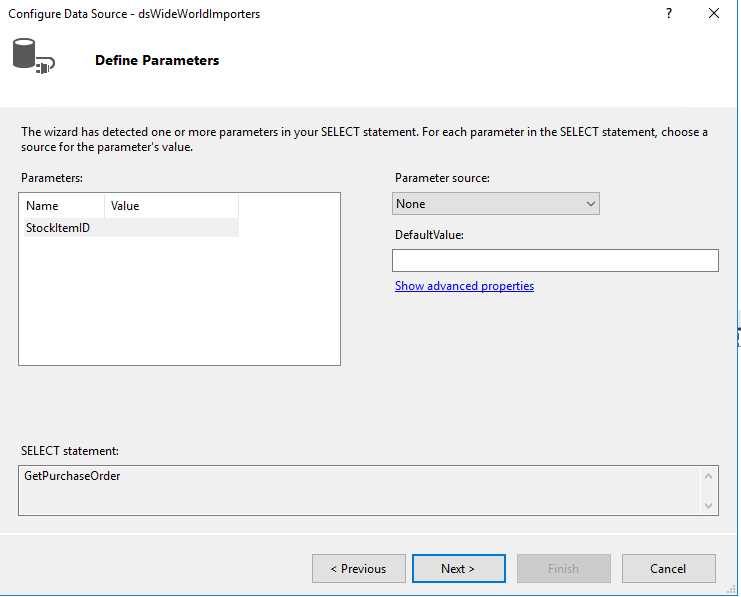
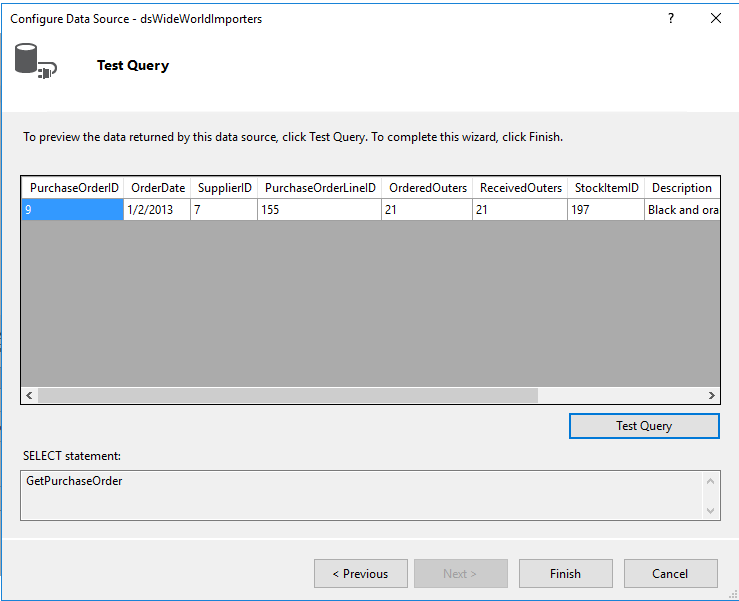
The next step is creating the connection. I click “New Connection” and fill in the server information, click OK, then Next. I give my connection string a name and click Next. Now I have to choose what data I’ll show. I choose the option to “Specify a custom SQL statement or stored procedure” and click Next. I already created a stored procedure, GetPurchaseOrder, which I select. My stored proc has a parameter, StockItemID. I’m going to pass a value in from a text box. However, I haven’t added that to the form yet, so I can’t choose it. I leave Parameter source as None and click Next. I click the Test Query button and enter a parameter value. I get the results I expect. I click Finish.
-
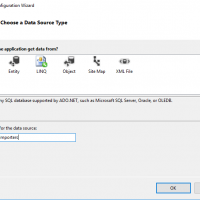
- Choose "Database"
-
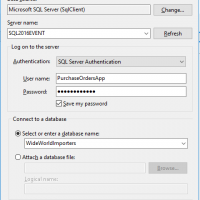
- Enter Server name, Authentication, and database name; Test Connection

-
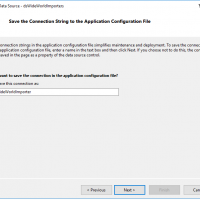
- Name and save the connection string
-
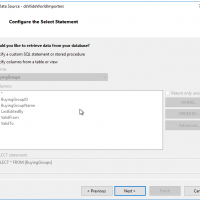
- Choose a custom statement
-
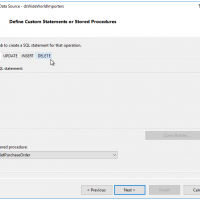
- Choose stored procedure and select one from the list
-
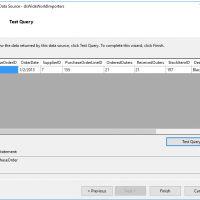
- Click Test Query, enter a parameter value, and make sure you get the results you expect
I need to add that text box. First I drag a label from the Toolbox to the Designer. I change the (ID) and Text properties. Then I drag a TextBox control to the Designer, and again, change the (ID). Then, I add a Button to perform the search. I drag the Button over and change its (ID) and Text. Now, to tie the text box to the parameter, I click on my GridView so the tasks pop-out appears on the right, then click Configure Data Source. I click Next until I’m on the Define Parameters screen. For my Parameter source I choose Control. For ControlID, I choose txtItemId. I leave DefaultValue blank. I click Next and Finish.

You can see the label and button in the top left. The GridView Tasks pop-out is to the right.
Now, I want to make sure this works. To get the web page to run, I click on Debug > Start Debugging (or F5). If all has gone according to plan, I’ll see my web page.
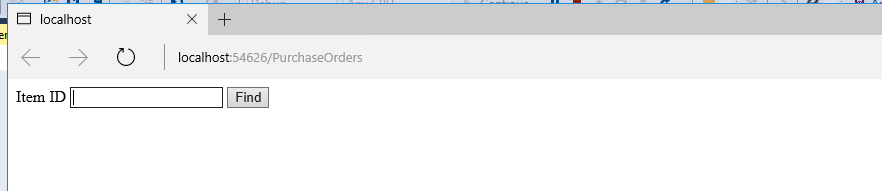
Opened in Edge
I enter a value and click Find. My results appear.
The expected results appear
To end, I go back to VS and select Debug > Stop Debugging.
A Basic Application
This is how I am going to test various database features! This sample is not:
- Written using best practices
- Going to perform well
- Secure
- Production-ready
It is, however, going to show me how things appear, and need to be configured, outside of SSMS. Exciting!
 Jes Borland is a Premier Field Engineer - SQL Server for Microsoft, where she is a trusted technical adviser, deep technical support, and teacher for her customers. Her experience as a DBA, consultant, and 5-time Data Platform MVP allow her to help the business and the IT teams reach their goals. She has worked with SQL Server as a developer, report writer, DBA, and consultant. Her favorite topics are administration, automation, and performance. She frequently presents at user groups, SQL Saturdays, and other community events. She is also an avid runner and chef.

