


Introduction
If you haven’t heard of SignalR then you have probably been living under a rock for the past year or so.
SignalR is an Async library for .NET to help build real-time, multi-user interactive web applications.
In other words, it’s kind of a client-servery thing.
So what can we do with it. We can send messages to all the clients that are connected to our server for one.
Let’s try this.
For this post I took the quickstart example on the SignalR wiki.
The server
First thing to do is to setup the server.
For this I created an Empty ASP.Net web Application.
Then I did the Nuget thing.
Install-Package Microsoft.AspNet.SignalR -pre
Then create a Global.asax file.
Imports System.Web.SessionState
Imports System.Web.Routing
Imports Microsoft.AspNet.SignalR

Public Class Global_asax
    Inherits System.Web.HttpApplication

    Sub Application_Start(ByVal sender As Object, ByVal e As EventArgs)
        RouteTable.Routes.MapConnection(Of MyConnection)("echo", "echo/{*operation}")
    End Sub


End Class```
this will create the routes that will tell you where you have to go to get your information. As you can see the route echo will use our MyConnection class which we will create next.

```vbnet
Imports Microsoft.AspNet.SignalR
Imports System.Threading.Tasks

Public Class MyConnection
    Inherits PersistentConnection

    Protected Overrides Function OnReceivedAsync(equest As IRequest, connectionId As String, data As String) As Task
        Return Connection.Broadcast(data)
    End Function

End Class
This is the most basic form. Take the data you recieved and broadcast it to all clients.
Start this project and you should see something like this.
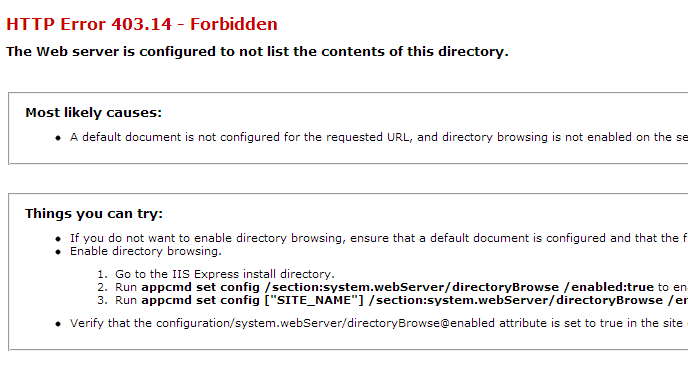
Which at least means our server has started.
Take note of the url you see in your addressbar and remember that for the next session.
The console client
The first thing to do after this is to make a consoleapplication to test if it really works.
Go to your nuget console and copy paste this in. Make sure the nuget console is in the right project first.
Install-Package -pre Microsoft.AspNet.SignalR.Client
And here is my slightly improved version of that console app.
Imports Microsoft.AspNet.SignalR.Client

Module Module1

    Sub Main()
        Dim connection = New Connection("http://localhost:50865/echo")

        AddHandler connection.Received, Sub(data) Console.WriteLine(data)

        connection.Start().Wait()

        Dim line As String = Nothing
        Console.WriteLine("type anything + enter to send, type exit + enter to exit.")
        While line <> "exit"
            line = Console.ReadLine()
            connection.Send(line).Wait()
        End While
    End Sub

End Module
Make sure you use the correct url. You know, the one I told you to remember.
This will show you the incoming messages via a console.writeline using an AddHandler of the Recieved event of the connection.
And it will give you the possibility to send messages.
Build it and go to your output folder where you click on the exe file several times to get several windows open at the same time and start typing in one of them.
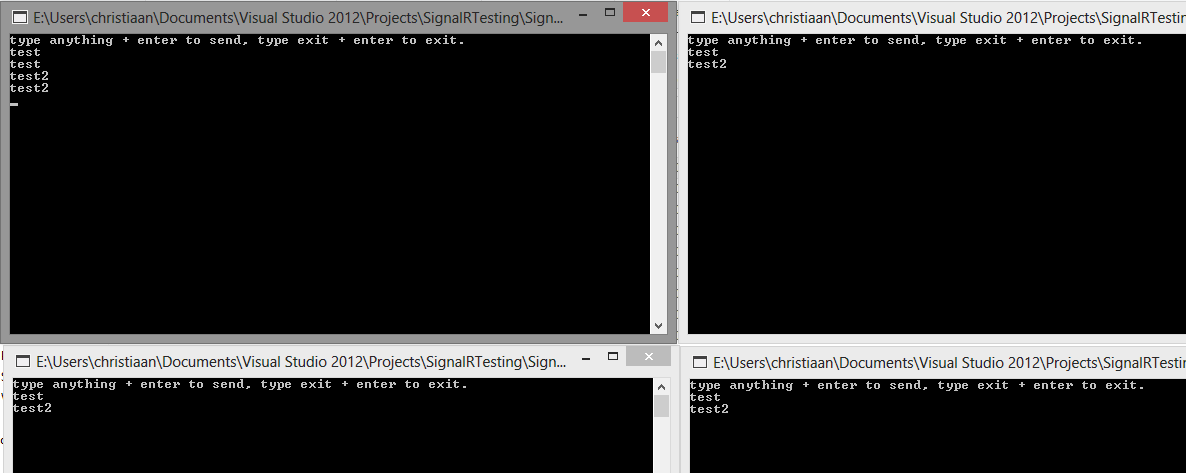
You can see the window I have typed in has the message twice and the other clients will have it once.
Now that was easy.
The webclient
It is just as easy to create the weblient.
Just create another Empty ASP.Net web application and create an empty index.html file in that.
Then do the nuget thing again.
And make sure it created a Scripts folder with 5 js files in it.

The important file here is jquery.signalR-1.0.0-alpha1.min.js We will need that soon.
Now copy the following code into the index.html file.
<!DOCTYPE html>
<html xmlns="http://www.w3.org/1999/xhtml">
<head>
    <title></title>
</head>
<body>
    <script src="http://code.jquery.com/jquery-1.7.min.js" type="text/javascript"></script>
  <script src="Scripts/jquery.signalR-1.0.0-alpha1.min.js" type="text/javascript"></script>
  <script type="text/javascript">
      $(function () {
          var connection = $.connection('http://localhost:50865/echo');

          connection.received(function (data) {
              $('#messages').append('<li>' + data + '</li>');
          });

          connection.start();

          $("#broadcast").click(function () {
              connection.send($('#msg').val());
          });
      });
  </script>

  <input type="text" id="msg" />
  <input type="button" id="broadcast" value="broadcast" />

  <ul id="messages">
  </ul>
</body>
</html>
Make sure you reference the right jquery.signalr file and that you change the url to the signalr server. You know, that url I told you to remember earlier.
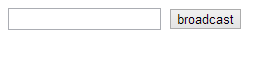
Now you will get a very boring page like this.
But let’s go back to our console app and start typing things in there, and see the magic happen.
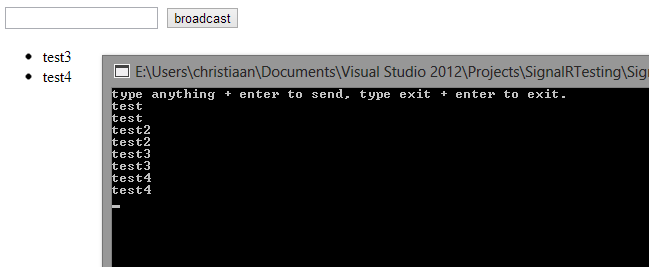
And that’s not all you can also do this in the webpage.
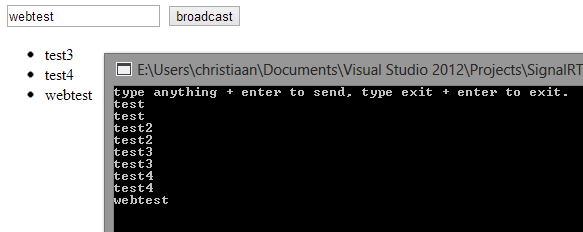
Simples.
Conclusion
SignalR is very easy to set up although the doc was wrong in some places. But nothing I couldn’t figure out on my own.
 Chris is awesome.
