


I felt the need to write a VS2010 Extension. And I decided NArrange needed some love and attention from me. NArrange works great but it needs to be integrated with VS2010 instead of me having to create the context menu items from scratch.
So I started by downloading the VS2010 SDK.
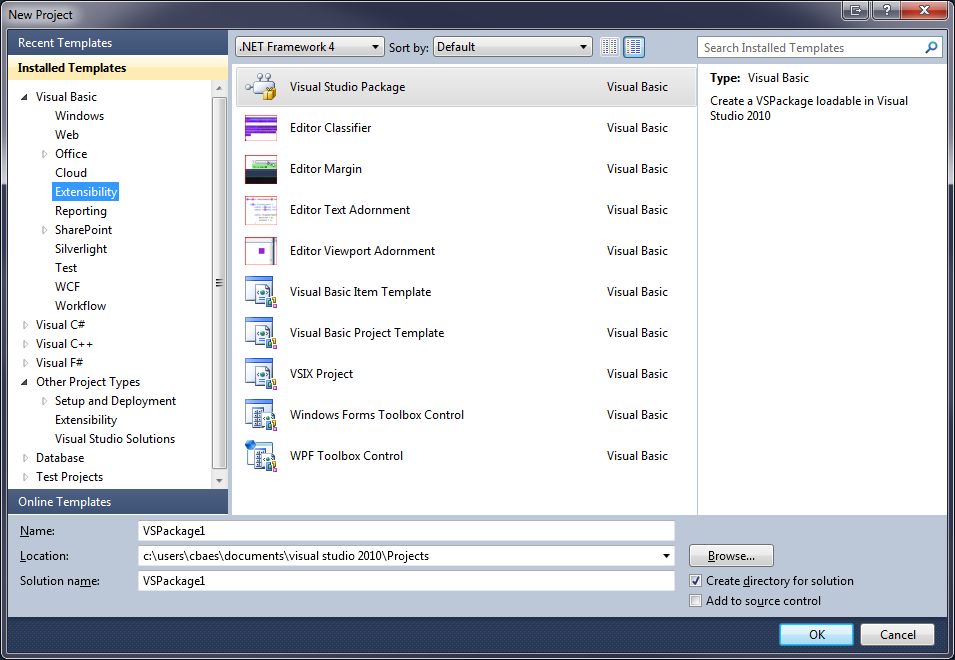
This adds a category to our new project dialog and it adds several new templates to choose from in that category.
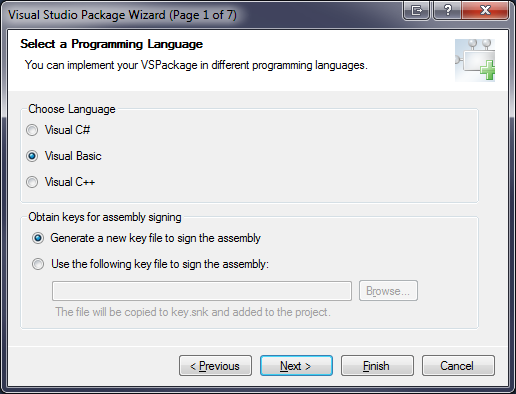
I went for the Visual studio Package and named it NArrangeExtension. And now it’s time to follow the wizard.
Then it is just being friendly.
I choose to make it Visual Basic of course (why would I go for less?).
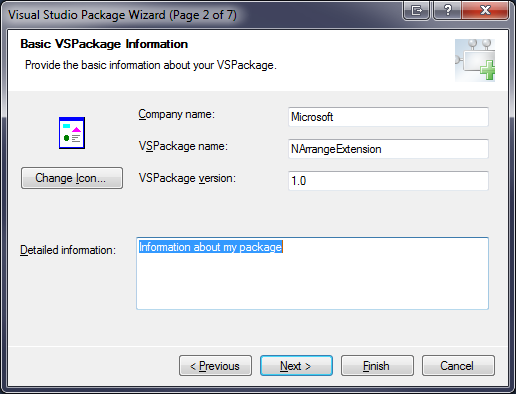
I did not fill in any information since I know what I’m doing.
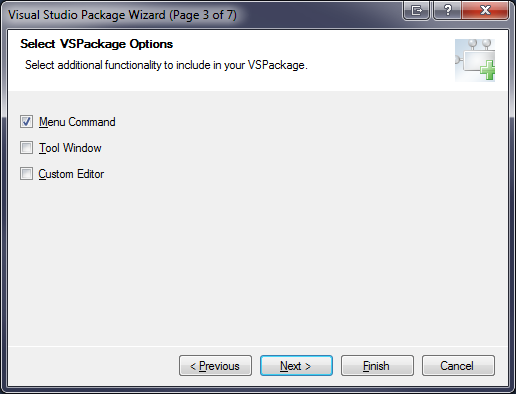
I wanted to make a menu so I choose that.
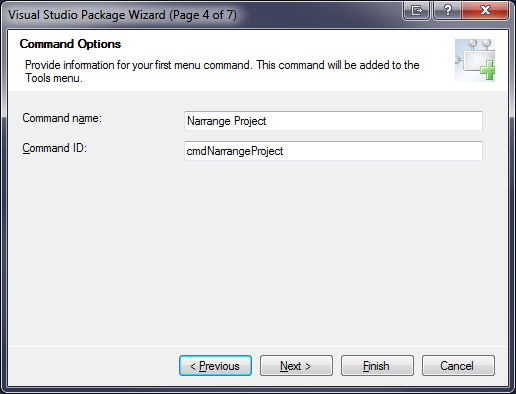
I changed the command name and Id so they would me meaningful to me and the rest of the world.
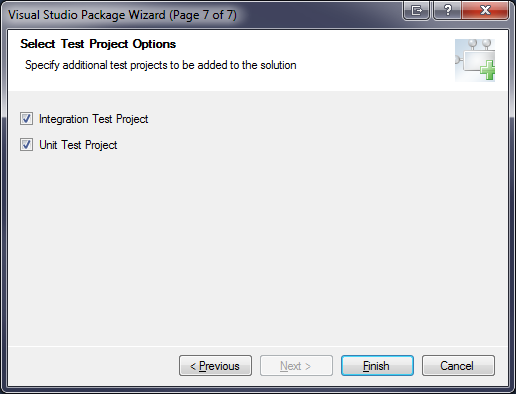
And I choose to create an integration test project and unit test project because it sounds cool, but I have not yet used them.
Now on to the more important bits. The programming. Let me say that documentation is not easy to find, but it is out there in some form or the other.
First you should open your vsct file. This is an xml file which helps you configure your menu options.
The first important line in here is this.
<!--This header contains the command ids for the menus provided by the shell. -->
  <Extern href="vsshlids.h"/>
Do a search on your system and find that vsshlids.h file. It will help a little. It contains all the options you can set. But as always, it contains lots of things with little documentation. But at least you now have something you can google.
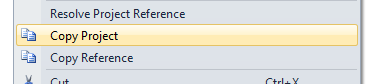
I wanted to change the location of my menuitem to be in the
contextmenu when I right-click on the project in my solution explorer.
xml
<Group guid="guidNArrangeExtension2CmdSet" id="MyMenuGroup" priority="0x0600">
        <Parent guid="guidSHLMainMenu" id="IDM_VS_MENU_TOOLS"/>
      </Group>
The above line says that it will create the menuoption in the tools menu, this is the default. But Martin Tracy’s Blog told me I needed to change the id=“IDM_VS_MENU_TOOLS” to this id=“IDM_VS_CTXT_PROJNODE”. And now the menu item will be shown in the context menu, easy isn’t it?
You then go to the Buttons element and look for this.
xml
<Button guid="guidNArrangeExtension2CmdSet" id="cmdNArrangeProject" priority="0x0100" type="Button">
        <Parent guid="guidNArrangeExtension2CmdSet" id="MyMenuGroup" />
        <Icon guid="guidImages" id="bmpPic1" />
        <Strings>
          <CommandName>cmdNArrangeProject</CommandName>
          <ButtonText>NArrange Project</ButtonText>
        </Strings>
      </Button>
You can and should remove the Icon tag. Or you could change it into something useful instead.
And we have now setup the menuitem.
If you run the Extension it will magically open a Visual studio window and it will even attach the debugger for you. How cool is that!
You then open a solution and right click on a project.
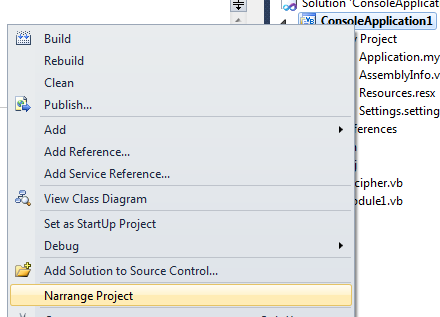
IT WORKS!
But no need to click it. It will just show a messagebox. Which is not what we want.
You now go to the file with Package.vb in the name. There you will find a MenuItemCallback method. Delete the default code.
And enter this code instead.
vbnet
Dim dte As EnvDTE.DTE = CType(GetService(GetType(EnvDTE.DTE)), EnvDTE.DTE)
        Dim dte2 As EnvDTE80.DTE2 = CType(dte, EnvDTE80.DTE2)
        Dim solexplorer As UIHierarchy
        solexplorer = dte2.ToolWindows.SolutionExplorer
        For Each i As UIHierarchyItem In solexplorer.SelectedItems
            Dim project As Project = i.Object
            Dim s = project.FullName
            System.Diagnostics.Process.Start("narrange-console", """" & s & """").WaitForExit(10000)
        Next
For this to work you will have to have NArrange installed on your system. You can download it from sourceforge. In my final project, I want to include the NArrange source code. But I will ask for the permission of the creator first.
The hard part was finding how to get the projectname. I thought this was going to be easy but apparently I still needed some DTE for this. And the process also needed all those nasty double quotes.
And that’s it. In the next version I will add a contextmenuitem for projectitems which was also a little challenging, but only a very little challenge.
 Chris is awesome.
